
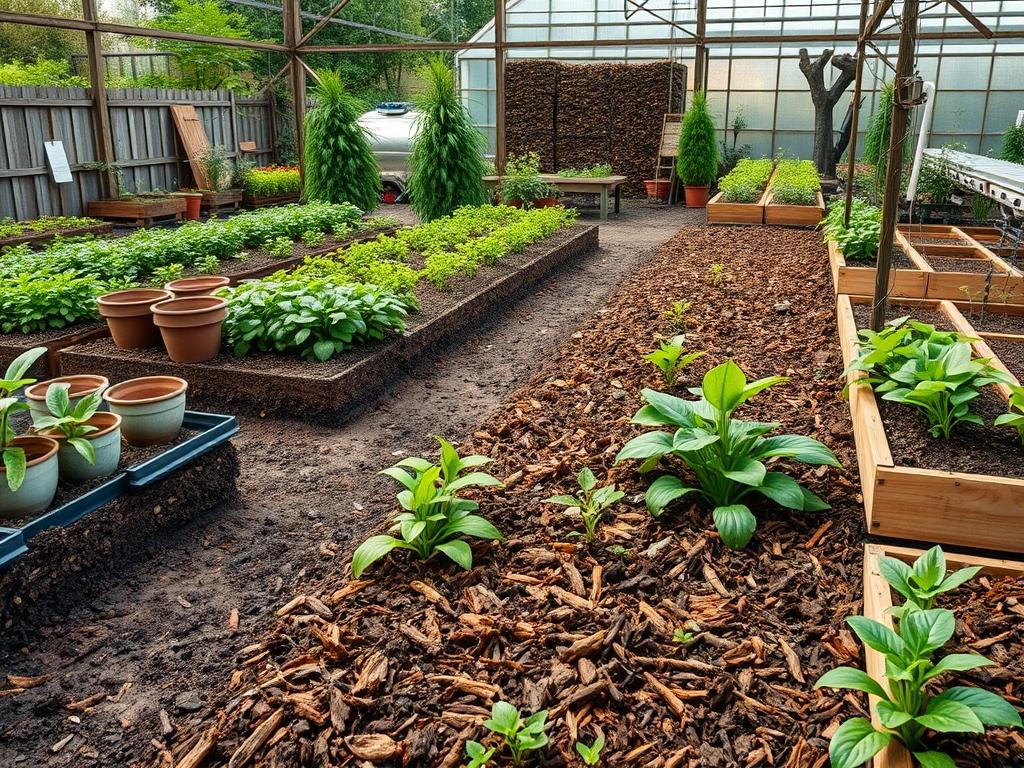
Selecting the proper ground cover involves more than a simple choice between aesthetics and cost; it represents a fundamental decision in the long term ecological health and structural integrity of a property. When evaluating sheet mulching vs wood chips, landscape architects must balance the immediate need for curb appeal with the functional requirements of soil restoration and weed suppression. Sheet mulching, often referred to as lasagna gardening, acts as a biological engine that transforms compacted or nutrient deficient subsoil into a friable, organic medium. Conversely, wood chips serve as a versatile topical application that manages moisture and temperature while providing a clean, professional finish to managed garden beds. In regions facing extreme heat or irregular precipitation, the choice between these methods dictates how effectively a landscape preserves its water resources and supports its horticultural investments.
Success in residential and commercial land management often hinges on the ability to interpret the specific microclimate of a site. Sheet mulching is an intensive, layered approach used primarily for converting existing turf or heavily weeded areas into productive planting zones without the need for mechanical tilling. This method protects the soil structure from the disturbance of heavy machinery, which often leads to compaction and the surfacing of dormant weed seeds. Wood chips, particularly those sourced from local arborists, act as the final protective layer in this system or as a standalone top dressing for established ornamental beds. By understanding the chemical and physical differences between these two approaches, property owners can ensure their outdoor functionality goals are met while enhancing the overall value and resilience of their environment.
Landscape Design Principles
Integrating ground cover strategies requires a deep understanding of symmetry and focal points within the broader site plan. Sheet mulching creates a thick, uniform base that can be used to define new garden borders, allowing for the precise execution of curvilinear or geometric designs. When laying out a site, the landscape architect uses these materials to establish visual balance by contrasting the rugged texture of wood chips against the refined foliage of specimen plantings. Visual weight is managed by varying the depth and color of the mulch, with darker chips often providing a sophisticated backdrop that makes the vibrant greens of Buxus sempervirens or the flowering stems of Nepeta stand out.
Elevation layers play a critical role in the deployment of these materials. On sloped terrain, sheet mulching provides a stable foundation that resists erosion better than loose wood chips alone. By utilizing a base layer of overlapping Industrial Grade Cardboard or Heavyweight Kraft Paper, designers can prevent the downward migration of soil particles during heavy rain events. Irrigation planning must also be synchronized with these choices. Drip irrigation lines are most effective when installed beneath the final wood chip layer but above the cardboard barrier, ensuring that moisture reaches the root zone through capillary action rather than evaporating from the surface. Furthermore, the construction of walkways using crushed stone or pavers should be planned in tandem with mulched areas to ensure clearly defined transitions that prevent material spillover and maintain crisp, professional lines.
Plant and Material Selection
| Plant Type | Sun Exposure | Soil Needs | Water Demand | Growth Speed | Maintenance Level |
| :— | :— | :— | :— | :— | :— |
| Quercus alba | Full Sun | Deep, Well-drained | Moderate | Slow | Low |
| Lavandula angustifolia | Full Sun | Gritty, Alkaline | Low | Medium | Moderate |
| Hydrangea macrophylla | Part Shade | Rich, Moist | High | Fast | High |
| Pennisetum alopecuroides | Full Sun | Adaptable | Low | Fast | Low |
| Cornus sericea | Full/Part Sun | Wet, Acidic | High | Fast | Moderate |
| Echinacea purpurea | Full Sun | Average, Loamy | Low | Medium | Low |
Implementation Strategy
The process begins with professional site grading to ensure that water flows away from a building foundations and towards designated drainage areas like rain gardens or bioswales. For sheet mulching, the existing vegetation is first mowed to the lowest possible setting. A high nitrogen layer, such as Composted Poultry Manure or Green Grass Clippings, is applied directly to the surface to accelerate the decomposition of the underlying organic matter. The next step involves laying down the carbon barrier; this usually consists of large sheets of Corrugated Cardboard with no plastic tape. Each sheet must overlap by at least 6 inches to prevent light from reaching weed seeds, a technique essential for killing resilient species like Bermuda Grass.
Once the barrier is in place, it is thoroughly saturated with water. A layer of high quality Garden Compost is spread at a depth of 2 inches over the cardboard, followed by a final top dressing of Arborist Wood Chips at a depth of 3 to 4 inches. This top layer serves multiple functions: it suppresses the growth of windblown seeds, insulates the soil against temperature fluctuations, and provides the aesthetic finish expected in professional landscaping. For edges, a spade or motorized edger is used to create a “V” notch trench between the mulched bed and the turf, which prevents the grass from creeping into the ornamental areas. Hardscaping elements, such as Natural Stone Retaining Walls or Steel Edging, should be installed prior to the mulching process to ensure proper anchoring and clean transitions.
Common Landscaping Failures
One of the most frequent errors in garden planning is improper drainage management. When sheet mulching is applied to a site with poor internal drainage, the cardboard layer can act as a temporary bathtub, holding excess water near the roots and leading to anaerobic conditions that cause root rot in sensitive species like Taxus. Furthermore, the placement of mulch is often mismanaged. The “mulch volcano” effect, where wood chips are piled high against the trunk of a tree, traps moisture against the bark and creates a bridge for wood boring insects and fungal pathogens. Mulch should always be kept at least 3 to 5 inches away from the flare of the tree trunk.
Another significant failure involves root overcrowding and improper spacing. Homeowners often plant for immediate impact, ignoring the mature spread of the species. This leads to competition for water and nutrients, which is exacerbated if the mulch layer is too thin to suppress weed competition effectively. Soil compaction is also a risk if heavy equipment is driven over recently sheet mulched beds, as the soft, decomposing layers are easily compressed, destroying the pore spaces necessary for oxygen exchange. Finally, irrigation inefficiencies occur when homeowners fail to adjust their timers to account for the increased moisture retention provided by a 4 inch wood chip layer, leading to overwatering and wasted resources.
Seasonal Maintenance
Spring maintenance focuses on refreshing the top layer and checking the integrity of the edging. As the winter snow melts, property managers should inspect for any areas where the cardboard has not fully decomposed or where weeds have breached the barrier. A light top dressing of Fine Bark Mulch may be added to restore color, though the total depth should not exceed the recommended 4 inches. This is also the time to clear debris from drainage grates and ensure that downspouts are not eroding the mulch beds.
In the summer, the priority shifts to moisture monitoring and pest management. During periods of extreme drought, the thick layer of wood chips will keep the soil cool, but deep watering sessions are required to ensure moisture penetrates the entire profile. Autumn involves clearing fallen leaves, which can be shredded and added back to the beds as an additional organic layer. This mimics the natural forest floor and recycles nutrients back into the ecosystem. During winter, the landscape architect ensures that the mulch remains in place to protect the crowns of perennials from frost heaving, a process where repeated freezing and thawing pushes plants out of the ground. By maintaining a consistent mulch cover year round, the structural health of the soil is preserved, leading to a more vibrant and sustainable outdoor environment.
Professional Landscaping FAQ
Which is better for suppressing persistent weeds like thistle?
Sheet mulching is significantly more effective because the physical barrier of cardboard deprives seeds of light. Wood chips alone often allow aggressive weeds to grow through the gaps, whereas the layered approach creates a formidable biological and physical shield.
Can I plant immediately after sheet mulching?
Yes, you can plant through the layers by cutting an “X” in the cardboard and digging a hole into the soil below. Ensure you add a handful of compost to the planting hole to provide immediate nutrients while the layers decompose.
Do wood chips steal nitrogen from my plants?
Nitrogen tie-up only occurs at the very surface where the wood meets the soil. For established plants with deep roots, this is not a concern. In sheet mulching, the compost layer provides ample nitrogen to offset any minor surface depletion.
How often do I need to reapply wood chips?
A standard 3 inch layer of wood chips typically lasts two to three years depending on the local climate and humidity. You should top dress the area when the material has broken down into fine particles and no longer suppresses weeds.
Is cardboard safe for the soil in long term planning?
Plain, brown corrugated cardboard is safe and biodegradable. Avoid using cardboard with glossy coatings, heavy inks, or plastic tape, as these can introduce synthetic chemicals and microplastics into the food web of your garden and groundwater.