
Successful landscape architecture relies on the symbiotic relationship between soil health and aesthetic structure. While large scale grading often utilizes heavy machinery, the refinement of a property occurs in the smaller, more intimate zones such as foundation plantings, decorative containers, and narrow border strips. Hand tilling for small beds is a foundational technique that allows a consultant to manage soil density without destroying the delicate rhizosphere or disturbing existing hardscaping. In micro climates created by urban heat islands or specific backyard orientations, manual aeration becomes the primary tool for ensuring plant longevity. This process directly influences curb appeal by facilitating deep root penetration, which leads to more vibrant foliage and consistent flowering. Proper tilling also addresses local drainage challenges, preventing the standing water that often plagues compacted urban soils and undermines the structural integrity of nearby walkways or retaining walls.
Landscape Design Principles
When approaching the design of small beds, symmetry and visual balance must be maintained to prevent the space from appearing cluttered. In a professional landscape plan, small beds often serve as focal points that guide the eye toward an entryway or a specific architectural feature. Hand tilling allows for the precise shaping of these areas, enabling the creation of subtle elevation layers. By manually mounding soil during the tilling process, a designer can create a tiered effect that adds depth to a flat backyard. This technique is particularly effective when working around permanent fixtures such as stone pavers or outdoor lighting systems, where a motorized tiller would pose a significant risk of damage.
Integration of irrigation planning is another critical principle. When performing hand tilling for small beds, a landscaper can manually incorporate drip irrigation lines at the optimal depth of 3 to 5 inches below the surface. This ensures that water reaches the root zone directly while remaining hidden from view. Furthermore, hand tilling provides the opportunity to refine the edges of the bed. A crisp, hand-cut edge creates a professional transition between the turf and the planting zone, providing a visual boundary that reinforces the intentionality of the design. Visual balance is achieved by ensuring the soil level remains consistent with the surrounding grade, preventing a sunken appearance that can lead to drainage issues.
Plant and Material Selection
The success of a small bed depends heavily on selecting species that thrive in the specific soil conditions created through manual preparation. The following materials and plants are recommended for high density, small scale landscaping projects.
| Plant Type | Sun Exposure | Soil Needs | Water Demand | Growth Speed | Maintenance Level |
| :— | :— | :— | :— | :— | :— |
| Dwarf Boxwood | Full Sun to Part Shade | Well-Drained Loam | Moderate | Slow | Moderate |
| Creeping Thyme | Full Sun | Sandy, Gritty | Low | Moderate | Low |
| Heuchera | Partial Shade | Rich, Humus | Moderate | Moderate | Low |
| Dwarf Azalea | Filtered Light | Acidic, Well-Drained | High | Slow | High |
| Blue Fescue | Full Sun | Poor to Average Soil | Low | Fast | Low |
| Japanese Maple | Part Shade | Consistently Moist | Moderate | Slow | High |
In addition to plant life, material selection for amendments is vital. The use of vermiculite or perlite in pot-based tilling improves porosity. For ground-level beds, the integration of organic compost or aged manure during the tilling process provides a slow-release nutrient source that supports long term growth.
Implementation Strategy
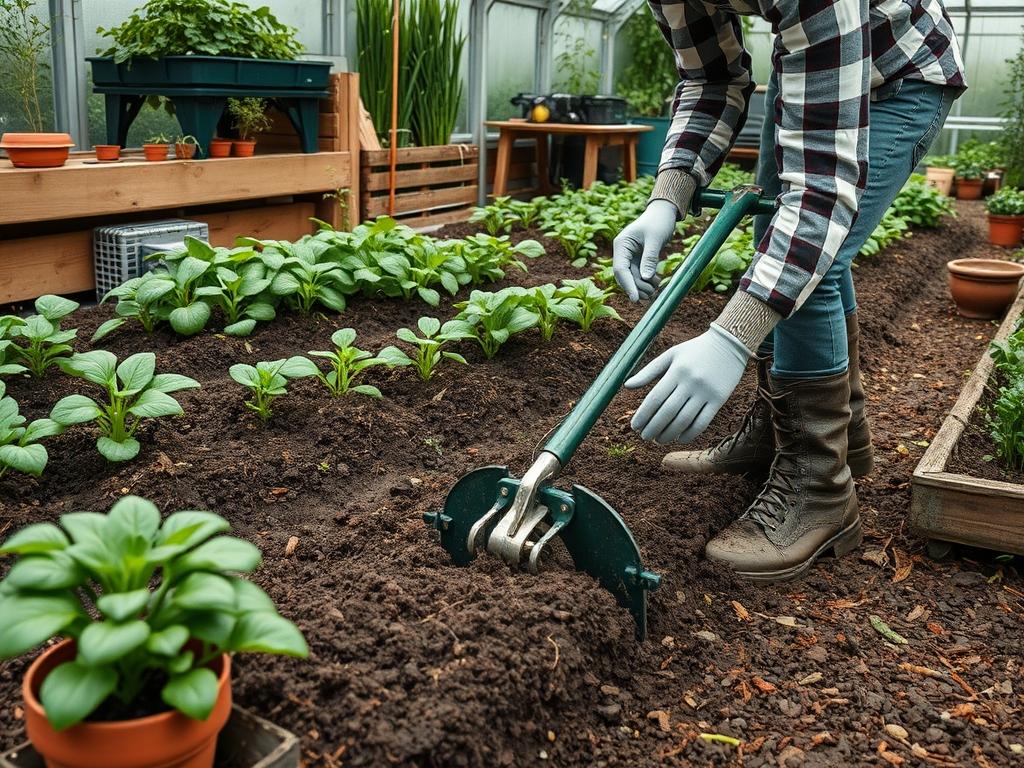
The implementation of a hand tilling strategy begins with a thorough site evaluation. Before any tools touch the ground, the landscape architect must identify the location of underground utilities and secondary lines such as irrigation pipes or low-voltage wiring. Once the area is cleared, the process of decompression begins. Using a hand fork or a broadfork, the soil is pierced to a depth of 8 to 10 inches. Unlike mechanical tilling, which can create a “hardpan” layer at the reach of the blades, manual tilling allows for varied depths that encourage better drainage.
After the initial loosening, the primary amendments are applied. For a standard 10 square foot bed, a layer of 2 inches of high quality compost should be spread evenly. Using a hand cultivator or a short-handled hoe, these amendments are worked into the top 6 inches of soil. This depth is critical; it is where the majority of feeding roots reside. During this phase, any large stones or debris that could inhabit root expansion are removed.
Once the soil is prepared, the grading phase commences. The soil should be raked to a smooth finish, slightly sloping away from any structures to ensure proper drainage. If the bed is located against a foundation, the grade should drop at least 1 inch for every foot of distance. Finally, a layer of hardwood mulch or pine needles should be applied at a depth of 2 to 3 inches. This mulch serves as a protective barrier, preventing the newly aerated soil from compacting during heavy rain events and maintaining consistent moisture levels.
Common Landscaping Failures
The most frequent failure in small bed management is over-tilling. While it may seem beneficial to turn the soil into a fine, dust-like consistency, this actually destroys the soil structure and kills beneficial microorganisms. Soil that is too fine will collapse and compact after the first heavy rain, essentially suffocating the plant roots. Another common error is neglecting the “pot effect” in heavy clay soils. If a small bed is tilled and filled with light, sandy soil without addressing the surrounding clay walls, the bed acts as a tub, holding water and causing root rot.
Irrigation inefficiencies also stem from improper tilling. If the soil is not leveled correctly, water will pool in certain sections while others remain bone dry. In pots, many novices fail to till the bottom third of the container, leading to a salt buildup that eventually poisons the plant. Finally, root overcrowding occurs when designers fail to account for the mature width of the species selected. Hand tilling provides a moment to visualize the root spread; if a plant requires a 24 inch diameter for its root system, tilling only a 12 inch circle will result in stunted growth and eventual failure of the specimen.
Seasonal Maintenance
Landscape management is a year-round commitment that changes with the environment. In the spring, the focus should be on light aeration. As the ground thaws, use a hand-held aerator to punch small holes into the bed without fully turning the soil. This allows oxygen to reach the roots as they emerge from dormancy. This is also the ideal time to refresh the organic mulch layers that may have thinned during the winter months.
During the summer, maintenance shifts to moisture management. The hand-tilled beds should be checked for crusting on the surface. If the soil has become hydrophobic, a light scratching of the surface with a three-prong cultivator can help water penetrate the mulch layer more effectively. In the autumn, the goal is soil enrichment. Tilling in leaf mold or well-rotted organic matter prepares the bed for the following year. This is also the time to check the integrity of edging materials and retaining walls for any shifts caused by soil expansion. In winter, the primary task is protection. Avoid walking on or disturbing tilled beds when the ground is frozen, as this can cause severe compaction that will be difficult to remediate in the spring.
Professional Landscaping FAQ
How deep should I hand till for small annual beds?
For annual flowers, you should aim for a depth of 6 to 8 inches. This provides enough loose soil for delicate root systems to establish quickly while allowing for the easy integration of water-soluble fertilizers and organic compost.
Can I hand till soil that is currently saturated?
No, you should never till wet soil. Working with saturated earth destroys the soil structure and leads to heavy clumping. Wait until the soil crumbles easily when squeezed in your hand before beginning any manual cultivation or aeration tasks.
What are the best tools for hand tilling in tight spaces?
A hand-held cultivator with reinforced tines is essential. For deeper work, a narrow transplanting spade or a standard hand fork allows you to reach between established plants without damaging their root systems or disturbing nearby decorative hardscaping.
Is it necessary to remove all weeds before hand tilling?
Yes, you should remove the roots of perennial weeds before tilling. If left in the soil, tilling often breaks the roots into smaller pieces, each of which can grow into a new weed, leading to a much larger infestation later.
How often should I refresh the soil in decorative pots?
You should perform a partial tilling and soil refresh every year. Every two to three years, it is best to remove the plant and completely replace the potting medium to prevent compaction and the accumulation of harmful mineral salts.