
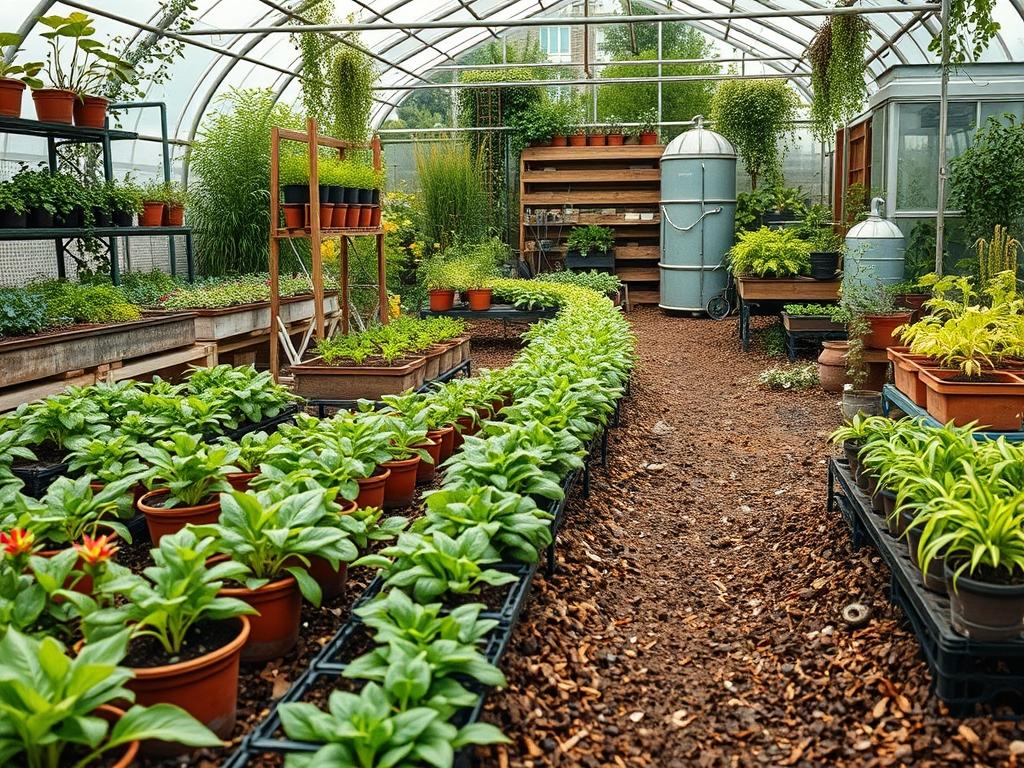
Integrating cover crops into a professional landscape design represents a sophisticated approach to site preparation, soil stabilization, and long term nutrient management. While many homeowners and developers look toward immediate gratification through sod or synthetic fertilizers, the experienced landscape architect understands that the highest quality outdoor environments are built from the ground up. The primary challenge involves managing these living mulches so they do not compete with the intended permanent aesthetic. Cover crop termination is the process of ending the lifecycle of a placeholder plant to make way for the primary landscape elements. When conducted without chemicals, this process preserves the biological integrity of the soil, ensuring that high value specimens thrive in a living, aerated medium. By utilizing mechanical and cultural termination methods, we respect the local microclimate and enhance the overall curb appeal by establishing a lush, resilient foundation. This strategy serves both the immediate functionality of the garden and the long term sustainability of the ecosystem, providing a stable base for features such as retaining walls, stone walkways, and complex irrigation systems.
Landscape Design Principles
In the realm of high end environmental consultancy, every element of the terrain must serve a dual purpose of beauty and utility. Cover crops are often employed during the “rest phase” of a major installation, particularly on properties where significant grading has occurred. Using these plants allows an architect to visualize symmetry and focal points before permanent woody shrubs or native plants are installed. For instance, a field of winter rye can define the future boundaries of a formal parterre, allowing the designer to check visual balance and elevation layers from various sightlines of the house.
Proper planning requires integrating irrigation planning early in the process. If a site is intended for a low water garden, terminating a cover crop that increases soil water holding capacity is essential. The placement of walkways and hardscaping must also be considered. If you are planning to install permeable pavers, terminating a deep rooted cover crop like daikon radish beforehand can alleviate subsoil compaction, ensuring the pavers remain level for decades. By focusing on these underlying structural principles, the landscape architect ensures that the final design is not just a surface level treatment, but a deeply integrated living system.
Plant and Material Selection
The following table outlines the most effective species for building soil structure and biomass before a formal landscape installation.
| Plant Type | Sun Exposure | Soil Needs | Water Demand | Growth Speed | Maintenance Level |
| :— | :— | :— | :— | :— | :— |
| Cereal Rye | Full Sun | Adaptable/Poor | Moderate | Fast | Moderate |
| Crimson Clover | Full Sun to Part Shade | Well-drained | Low | Medium | Low |
| Buckwheat | Full Sun | Low fertility | Low | Very Fast | Low |
| Hairy Vetch | Full Sun | Loamy and Neutral | Moderate | Medium | High |
| Daikon Radish | Full Sun | Compacted Clay | Moderate | Fast | Low |
| White Clover | Part Shade to Sun | Moist/Loamy | Moderate | Slow | Low |
Implementation Strategy
The successful termination of cover crops requires a strategic timeline that aligns with the broader construction schedule. The most effective mechanical method for a commercial or residential landscape is the use of a roller-crimper. This tool consists of a heavy metal drum with blades arranged in a chevron pattern. When rolled over a mature cover crop, it snaps the stems in multiple places without cutting them entirely. This effectively kills the plant while leaving a thick, intact mat of organic matter on the soil surface. This mat acts as a natural mulch, suppressing weeds and protecting the soil from the sun while the primary landscape plants are being positioned. For smaller, more precise areas, a flail mower set to a height of 2 inches can be used to chop biomass into fine pieces that decompose quickly into the topsoil.
Another highly effective non chemical method is occultation, which involves the use of UV-stabilized polyethylene or silage tarps. After mowing the cover crop as low as possible, the designer covers the area with a heavy black tarp for four to six weeks. The lack of light terminates the plants and encourages earthworm activity at the surface. This method is particularly useful for areas destined for floral borders or vegetable gardens, as it leaves a clean, weed free seedbed without disturbing the soil profile. For sites with significant elevation changes, ensure that the edges of these tarps are secured with u-shaped landscape staples or heavy sandbags to prevent wind lift. This phase is also the ideal time to finalize drainage solutions. While the soil is covered or crimped, the installation of French drains or catch basins can be executed with minimal disruption to the emerging soil structure. Once termination is complete, a layer of hardwood mulch or compost at a depth of 3 inches should be applied to transition the area into its final aesthetic form.
Common Landscaping Failures
The most frequent mistake in cover crop management is improper timing. If a crop is terminated too early, it may regrow, leading to an unsightly mix of “weeds” within a new installation of perennials. Conversely, if the crop is terminated too late, it may have already set seed, creating a legacy of unwanted seedlings that will plague the garden for years. Another common failure relates to soil compaction. Using heavy machinery to terminate crops during wet conditions can destroy the very soil structure the cover crop was intended to build. This lead to poor drainage and hydrostatic pressure issues against retaining walls.
Landscape architects also frequently see the results of root overcrowding. When a cover crop is not fully terminated, its root system can compete for nutrients with high value native plants or sensitive ornamental trees. This competition is often misdiagnosed as an irrigation problem, leading to overwatering and subsequent root rot. Finally, failing to account for the nitrogen tie-up that occurs as high carbon materials, such as dried rye stalks, decompose can lead to yellowing leaves in the new landscape. A professional must balance the carbon to nitrogen ratio by adding a nutrient dense organic compost during the final planting phase.
Seasonal Maintenance
Landscape management is a year round commitment that shifts with the solar cycle. In Spring, the focus is on monitoring the emergence of fall planted cover crops and prepairing the roller-crimper or mower. This is the peak time for termination before the heat of summer sets in. If significant rain occurs, the architect must ensure that drainage channels are clear of debris from the terminated biomass.
During the Summer, the terminated mulch mat should be checked for thickness. As it decomposes, it may need to be supplemented with additional pine bark mulch or wood chips to maintain a consistent 3 inch depth. This is also the period to audit the irrigation system to ensure that moisture is reaching the soil through the layer of organic matter.
In Autumn, the cycle begins again. This is the optimal time to sow new cover crops in areas of the landscape that are still under development or in transition. Selecting cold hardy species like hairy vetch or winter rye ensures that the soil remains stabilized during the harsh winter months.
In Winter, maintenance involves monitoring for erosion, especially on slopes. The dormant cover crop provides a vital service here by preventing runoff. It is also the season for planning next year’s hardscaping and procurement of outdoor living furniture, ensuring that the garden is ready for functional use as soon as the ground thaws.
Professional Landscaping FAQ
What is the best time to crimp a cover crop?
The most effective time to use a roller-crimper is during the early flowering stage. At this point, the plant has shifted its energy from leaf growth to reproduction, making it much less likely to regrow after the stem is broken.
Can I leave the terminated residue on the surface?
Yes, leaving the residue on the surface is a cornerstone of “no-till” landscaping. This biomass acts as a high quality mulch, improving soil moisture retention, preventing erosion, and providing a habitat for beneficial soil microorganisms that support plant health.
How do I prevent cover crops from becoming weeds?
Termination must occur before the plants reach the “soft dough” stage of seed development. By killing the plant while it is in bloom but before seeds are viable, you ensure the cover crop does not self-sow into your formal beds.
Will occultation harm my soil’s beneficial insects?
While solarization with clear plastic can heat soil to lethal levels, occultation with black tarps is generally safer for soil life. It suppresses weeds through light deprivation rather than heat, allowing worms and beneficial microbes to remain active just below the surface.
How deep should I plant my permanent specimens after termination?
When planting into a crimped or mown cover crop, you should clear a small circle in the mulch and plant at the same depth as the nursery container. Ensure the root flare of trees remains visible above the mulch line to prevent rot.