
Achieving a high-end landscape requires more than an eye for aesthetics and a robust budget. It demands a deep understanding of the site’s foundational chemistry. As a landscape architect, I often see ambitious designs fail not because of poor plant selection or lack of water, but because the subterranean environment was never properly calibrated. Soil pH is the silent governor of the garden; it determines the solubility of nutrients and the health of the microbial life that supports root systems. When a homeowner aims for maximum curb appeal and long-term outdoor functionality, they must begin with a site analysis that prioritizes the ground beneath their feet. Testing soil pH at home is the most cost-effective way to ensure that your investment in specimen trees, ornamental shrubs, and turfgrass pays off in the years to come.
Understanding the relationship between soil acidity and plant health is critical for any sustainable landscape plan. In regions with high rainfall, soils tend to be more acidic as basic cations like calcium and magnesium leach away. Conversely, arid climates often suffer from alkalinity, where high pH levels can lead to iron deficiency and stunted growth. A professional-grade landscape must account for these variables during the initial planning phase to avoid the costly replacement of dying foliage. By mastering the art of testing soil pH at home, you gain the ability to troubleshoot poor growth patterns and optimize your fertility program with surgical precision.
Landscape Design Principles
Successful landscape design relies on the harmony between the built environment and the organic elements. We utilize principles like symmetry and focal points to guide the eye through a space, but these visual cues rely on the consistent vigor of the plants involved. If one half of a symmetrical Boxwood hedge is struggling due to localized soil issues, the entire architectural balance is ruined. Therefore, we treat soil uniformity as a design principle in itself. Before any hardscaping or retaining walls are installed, the site must be graded and the soil profile meticulously examined.
Elevation layers play a vital role in both visual depth and drainage management. By creating tiered planting beds, we can manipulate the microclimates within a single yard. Higher elevations generally drain faster and may require different soil amendments than lower, more moisture-retentive areas. Walkways should be planned not just for traffic flow, but as barriers that prevent soil compaction in sensitive planting zones. Every design choice, from the placement of a focal point sculpture to the installation of an irrigation system, should be informed by the moisture levels and chemical composition of the site. When we understand the pH, we can group plants with similar needs into “hydro-zones,” ensuring that the irrigation planning is efficient and the visual balance remains intact throughout the growing season.
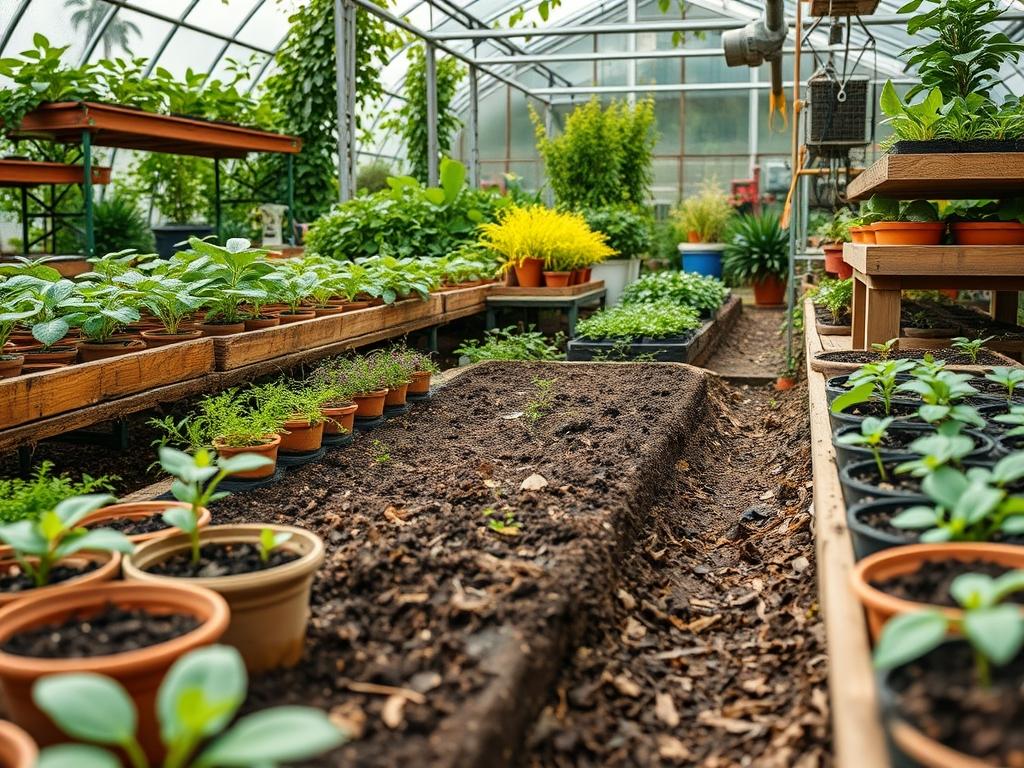
Plant and Material Selection
| Plant Type | Sun Exposure | Soil Needs | Water Demand | Growth Speed | Maintenance Level |
| :— | :— | :— | :— | :— | :— |
| Azalea | Partial Shade | Acidic (4.5 to 5.5 pH) | Moderate | Medium | High |
| Lavender | Full Sun | Alkaline (7.0 to 8.0 pH) | Low | Medium | Low |
| Boxwood | Full Sun to Shade | Neutral (6.5 to 7.2 pH) | Moderate | Slow | Medium |
| Daylily | Full Sun | Adaptable (6.0 to 7.0 pH) | Low | Fast | Low |
| Blueberry | Full Sun | Highly Acidic (4.0 to 5.0 pH) | High | Medium | High |
| Oak Tree | Full Sun | Deep, Acidic to Neutral | Moderate | Slow | Low |
Implementation Strategy
To begin testing soil pH at home, you must first gather representative samples from across your property. Use a hand trowel or a soil probe to collect earth from a depth of 6 inches, which is where the majority of feeder roots reside. Avoid taking samples from the very surface, as mulch and top-dressing can skew the results. For a comprehensive overview, create a composite sample by mixing soil from five or six different spots within a single planting zone. Ensure the soil is dry and free of large rocks, roots, or debris before starting your tests.
One of the most reliable DIY methods is the pantry test. This involves two separate batches of soil. In the first container, add a 1/2 cup of soil and a splash of distilled water to create a slurry. Then, pour in a 1/2 cup of vininger. If the mixture fizzes or bubbles, your soil is alkaline, likely sitting above a 7.0 pH. In the second container, mix another soil sample with distilled water and add a 1/2 cup of baking soda. If this mixture bubbles, your soil is acidic, likely below 6.0 pH. If neither reacts, you are likely in the neutral range. For more granular detail, you can use the red cabbage method. Boil red cabbage to extract the anthocyanin pigment, which acts as a natural pH indicator. Mix the purple liquid with your soil; it will turn pink in acidic conditions and green or yellow in alkaline conditions.
Once your testing is complete, the implementation moves to the physical layout. Begin with grading to move water away from foundations and toward designated drainage swales. After the rough grade is established, install your edging to define the borders between turf and beds. Use a 2 inch to 3 inch layer of hardwood mulch to regulate soil temperature and retain moisture. If your pH tests showed extreme results, this is the time to incorporate amendments. Use elemental sulfur to lower pH or dolomitic lime to raise it. Always work these into the top several inches of soil rather than just sprinkling them on top.
Common Landscaping Failures
The most frequent failure in residential landscaping is poor drainage. Even the most perfectly balanced soil pH will not save a plant if its roots are suffocating in standing water. When soil remains saturated, it becomes anaerobic, leading to root rot and a shift in the chemical availability of nutrients. Another common pitfall is root overcrowding. Designing for the “now” rather than the “future” often leads to plants competing for the same limited pool of nutrients and water, which eventually causes a decline in the health of the entire bed.
Soil compaction is another silent killer, especially in new construction homes. Heavy machinery often packs the earth so tightly that roots cannot penetrate and water cannot infiltrate. This leads to irrigation inefficiencies where water runs off the surface rather than soaking into the root zone. Furthermore, improper spacing of plants can lead to poor air circulation, which encourages fungal diseases. By understanding the mature width of your native plants and specimen trees, you can prevent the “stifling” effect that causes many gardens to fail within five years of installation.
Seasonal Maintenance
Spring is the season of preparation and correction. As the ground thaws, it is the ideal time for testing soil pH at home to see how winter leaching has affected your beds. Apply pre-emergent weed control and refresh your mulch layers to suppress the first flush of spring weeds. Professional landscapes benefit from a light application of compost in the spring to bolster the soil’s organic matter content.
Summer maintenance focuses on moisture management and stress reduction. Monitor your irrigation system for leaks or clogged emitters. During periods of extreme heat, avoid heavy pruning or fertilizing, as this can force new growth that the plant cannot support. Instead, focus on deadheading flowers to encourage continuous blooming.
Autumn is for renovation and planting. The cooling soil temperatures are perfect for root development. This is the best window to plant new trees and shrubs, as it allows them to establish before the stress of summer returns. It is also the time to apply lime if your soil is too acidic, as it takes several months for the chemical reaction to fully adjust the pH.
Winter is the season of protection. In colder climates, apply a layer of evergreen boughs or extra mulch around sensitive perennials to prevent frost heaving. Use this dormant period to clean and sharpen your pruning shears and spades. It is also a great time to review your landscape notes from the previous year and plan any structural changes to the hardscape or drainage systems.
Professional Landscaping FAQ
How often should I test my soil pH?
You should conduct a test every two to three years. This frequency allows you to monitor how your amendments and fertilizers are affecting the long-term chemistry of your landscape beds without over-correcting.
Can I use tap water for my DIY pH tests?
No, you must use distilled water. Tap water often contains minerals and chlorine that have their own pH levels, which will contaminate your sample and provide an inaccurate reading of your actual soil conditions.
What is the ideal pH for a general mixed garden?
Most ornamental plants and turfgrasses thrive in a slightly acidic to neutral range, specifically between 6.2 and 7.0. This range ensures that essential nutrients like nitrogen, phosphorus, and potassium are most available to the roots.
Will mulch affect my soil pH over time?
While the decomposition of organic mulch can slightly lower the pH at the very surface of the soil, the impact is usually negligible in the deeper root zone. It is not a substitute for proper mineral amendments.
What is the fastest way to fix alkaline soil?
Adding iron sulfate or aluminum sulfate provides a faster pH drop than elemental sulfur. However, these should be used cautiously to avoid salt buildup or aluminum toxicity in sensitive species like Azaleas.