
Successful landscape architecture relies on the invisible forces of physics as much as it does on aesthetic composition. When we design raised beds, we are essentially creating controlled environments that bypass the limitations of native soil, yet many homeowners overlook the most critical factor for long term success: the drainage profile. Superior Raised Bed Drainage Tips often start with the understanding that water must move through the soil column at a rate that allows for oxygen exchange without leaving the root zone parched. In high rainfall climates, a bed without proper exit points becomes a stagnant pond. Conversely, in arid regions, a bed that drains too quickly will lead to nutrient leaching and plant stress. Balancing these factors is the hallmark of a professional installation that enhances both curb appeal and outdoor functionality.
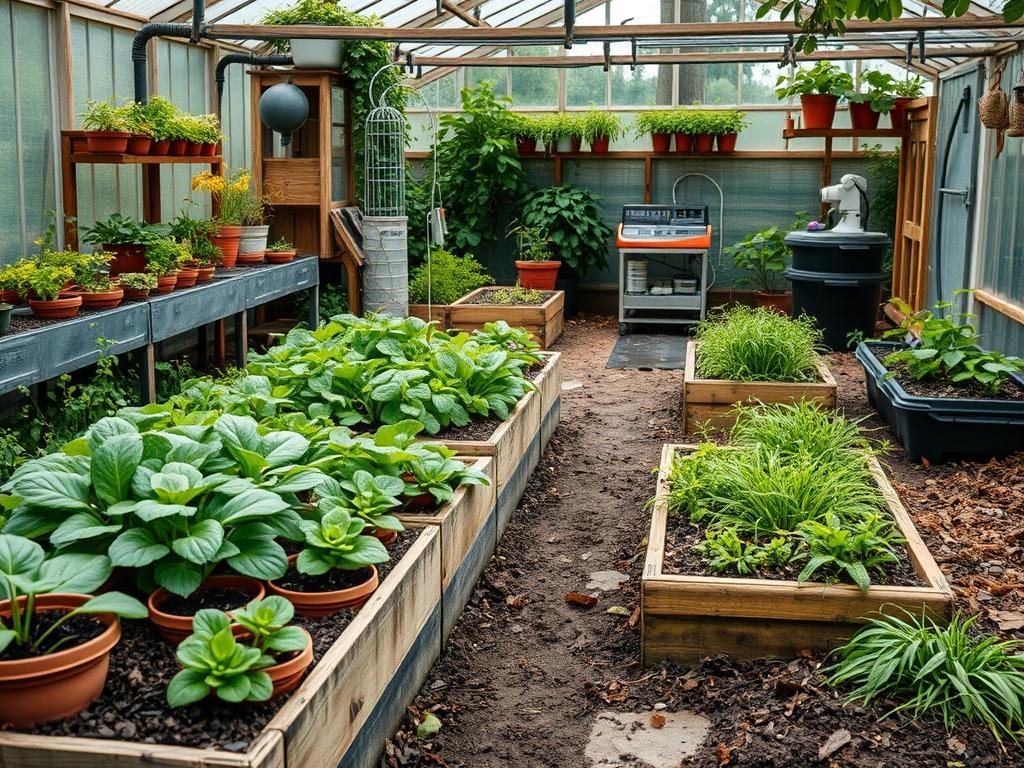
Designers utilize raised beds to create vertical interest and define outdoor rooms. By elevating the planting plane, we naturally draw the eye upward, allowing for a layered approach to the garden. This elevation serves a dual purpose. It provides a focal point for the landscape while solving the common problem of compacted or heavy clay soils found in many residential plots. However, the architectural integrity of these structures depends on how they interact with the ground beneath them. We must consider the transition between the artificial environment of the bed and the natural grade of the yard to ensure seamless movement of water and nutrients.
Landscape Design Principles
Effective garden planning requires a marriage of symmetry and organic flow. When positioning raised beds, consider the visual balance of the entire site. Symmetrical layouts, such as twin 6-foot rectangular beds flanking a central walkway, create a formal and disciplined atmosphere. For a more relaxed, contemporary feel, we often use asymmetrical clusters of varying heights, perhaps ranging from 12 inches to 30 inches, to mimic natural topography. These elevation layers allow for the inclusion of cascading species alongside upright specimen plants, adding depth to the visual narrative.
Irrigation planning must be integrated into the design phase rather than added as an afterthought. We recommend installing 1/2-inch drip tubing or soaker hoses beneath the mulch layer to deliver moisture directly to the roots. This prevents the erosion of soil and minimizes water waste. Furthermore, walkways between beds should be wide enough, typically 3 feet or more, to allow for comfortable movement of wheelbarrows and maintenance equipment. Using permeable materials like crushed limestone or decomposed granite for these paths ensures that runoff from the beds is absorbed into the ground rather than pooling on the surface.
Plant and Material Selection
Selecting the right biological components is just as important as the structural ones. The following table provides a guide for common raised bed selections based on their specific environmental needs.
| Plant Type | Sun Exposure | Soil Needs | Water Demand | Growth Speed | Maintenance Level |
| :— | :— | :— | :— | :— | :— |
| Lavender | Full Sun | Sandy/Gravelly | Low | Fast | Low |
| Rosemary | Full Sun | Well-drained | Low | Moderate | Low |
| Leafy Greens | Partial to Full | Organic Loam | Moderate | Fast | Moderate |
| Dwarf Alberta Spruce| Full Sun | Loamy/Acidic | Moderate | Slow | Low |
| Blueberries | Full Sun | Highly Acidic | High | Moderate | High |
| Marigolds | Full Sun | Well-drained | Moderate | Fast | Low |
For the construction materials, Cedar and Redwood are the gold standards for wooden beds due to their natural rot resistance. If you prefer a more industrial look, Galvanized Steel or Weathering Steel offers incredible durability and a slim profile that works well in tight urban spaces. For permanent installations, Stone Masonry or Concrete Micro-walls provide the best thermal mass, helping to regulate soil temperatures during extreme weather shifts.
Implementation Strategy
The process begins with site preparation. Before the first board is laid, the ground should be cleared of sod and slightly graded to prevent water from pooling at the base of the structure. If you are building on top of heavy clay, use a Stiff Rake or Garden Fork to scarify the surface of the native soil. This creates a transition zone that prevents the bathtub effect, where water sits at the interface of the two different soil types.
Once the frame is in place, line the bottom with a layer of Hardware Cloth to deter burrowing pests while still allowing for drainage. For the drainage layer itself, avoid the outdated practice of using heavy rocks or broken pottery at the bottom. This actually raises the perched water table and can drown roots. Instead, use a 3-inch layer of coarse organic matter, such as arborist wood chips or small branches. This technique, often called hugelkultur in a modified form, provides long term aeration and drainage.
Fill the bed with a high quality mix of 50 percent topsoil, 30 percent high grade compost, and 20 percent perlite or coarse sand. Use a Level to ensure the bed is true; an unleveled bed will cause water to settle on one side, leading to uneven growth and potential structural failure. Finish with a 2-inch layer of organic mulch to protect the soil surface from crusting.
Common Landscaping Failures
The most frequent mistake in raised bed construction is improper soil compaction during the filling phase. It is tempting to walk on the soil to settle it, but this destroys the macropores necessary for drainage and root respiration. Instead, allow the soil to settle naturally with a light watering. Another significant failure is the use of non-permeable liners. Some gardeners use thick plastic to protect the wood, but if this liner extends across the bottom, it creates a stagnant reservoir that will rot the roots of almost any plant.
Spacing is another area where many go wrong. Overcrowding plants leads to poor air circulation, which invites fungal diseases like powdery mildew. Always follow the mature width guidelines for each species. Furthermore, neglecting the hydrostatic pressure of wet soil can lead to bowing walls. For beds taller than 18 inches, internal bracing or rebar stakes driven into the ground are necessary to maintain structural integrity over time.
Seasonal Maintenance
Spring is the time for assessment. Check for any bowing in the walls and ensure that weep holes in masonry beds are clear of debris. Add a fresh 1-inch layer of compost to replenish nutrients lost to the previous season’s growth. In the summer, the primary focus is moisture management. Use a Moisture Meter to check the soil at a depth of 4 inches; the surface may look dry while the root zone is still saturated.
Autumn is the ideal season for soil structure improvement. If the soil level has dropped significantly, top it off with organic matter. This is also the time to plant cover crops like Crimson Clover which help prevent soil erosion and improve nitrogen levels. During winter, in colder climates, ensure that any irrigation lines are drained or blown out with Compressed Air to prevent freezing and bursting. If the beds are empty, a layer of Straw or a heavy Burlap cover will protect the soil microbiology from extreme temperature fluctuations.
Professional Landscaping FAQ
How do I fix a raised bed that has poor drainage?
You can improve drainage by vertical mulching. Use a Soil Auger to create deep holes in the bed and fill them with Perlite or coarse sand. This creates chimneys that allow air to reach the roots and water to move downward.
Should I put landscape fabric at the bottom of my bed?
Only use high quality non-woven geotextile fabric if you need to prevent invasive roots from entering the bed. Cheap liners often clog with fine silt over time, eventually creating a waterproof barrier that will kill your plants through root rot.
Does the height of the bed affect its drainage?
Yes. Taller beds generally drain faster because of the increased gravitational pull on the water column. A 24-inch bed will typically require more frequent watering than a 12-inch bed because the upper layers of soil stay further from the ground moisture.
What is the best soil for a vegetable raised bed?
A professional blend often consists of uncompacted loamy soil mixed with leaf mold and pumice. This combination ensures high nutrient density while maintaining the pore space necessary for healthy Raised Bed Drainage Tips to take full effect in the garden.
Can I use gravel at the bottom of my raised bed?
Professional landscape architects generally advise against this. Gravel creates a perched water table, which actually keeps the soil above it wetter for longer. It is much better to use a consistent soil medium or coarse organic debris that breaks down.