
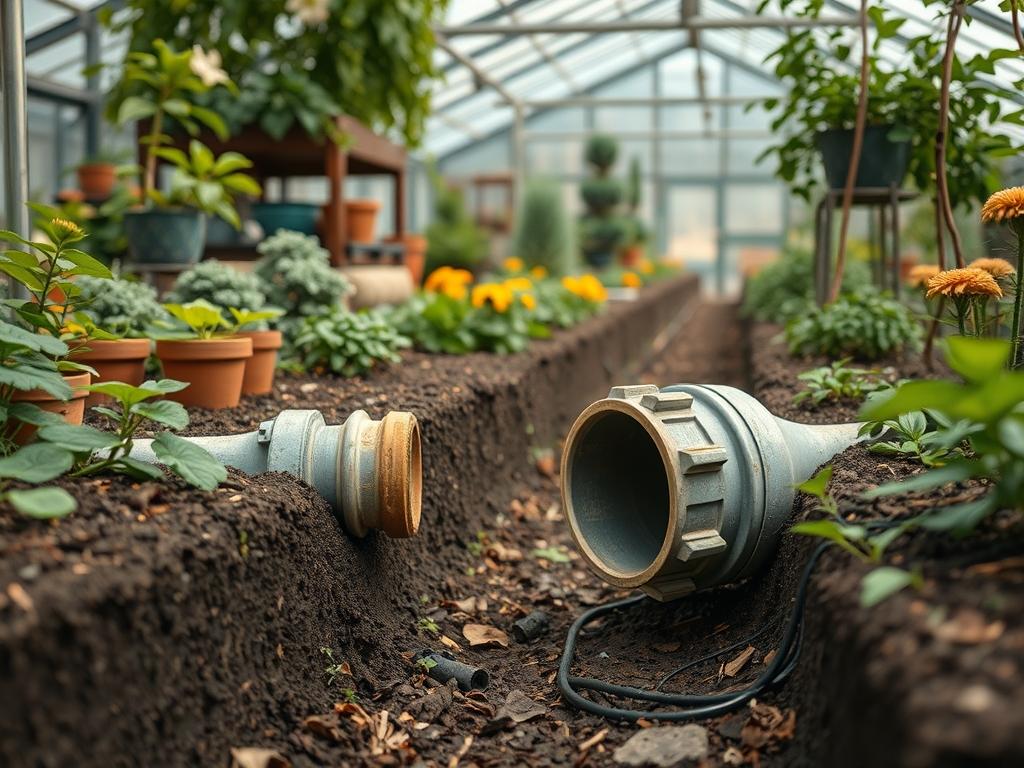
Water management is the unseen backbone of any high end landscape. While flowering perennials and manicured turf capture the visual attention of visitors, these elements cannot thrive in anaerobic, waterlogged soil. Proper Drainage Pipe Installation serves as the primary defense against foundation erosion, basement flooding, and the spread of turfgrass diseases. When a lawn lacks the correct pitch or permeability, it becomes a liability rather than an outdoor sanctuary. A professional approach to subsurface drainage ensures that every gallon of runoff is diverted away from critical structures and toward appropriate discharge points. This process balances architectural necessity with environmental aesthetics, allowing the garden to remain functional and beautiful through heavy storm cycles.
Successful landscaping requires an understanding of how water moves through various elevation layers before any earth is moved. To maintain high curb appeal, a drainage system must be integrated seamlessly into the existing topography. This prevents the “swamp” effect that occurs in low-lying areas of a property after a summer downpour. By prioritizing a dry, stable foundation, homeowners can protect their investment in high value plant specimens and hardscaping. A well-executed drainage plan is not merely a utility; it is a fundamental component of structural integrity and long-term landscape health.
Landscape Design Principles
Modern landscape design relies on the core concepts of symmetry and visual balance to guide the eye across a property. However, these principles are often dictated by the underlying topography. If a yard has inconsistent elevation, the design must utilize retaining walls or terracing to create flat, usable planes. These features serve a dual purpose. They provide a focal point for the garden and manage the velocity of surface water. When water moves too quickly over a slope, it strips away topsoil and nutrients. By incorporating elevation layers, you can slow the flow and direct it toward designated catch basins.
Visual balance is further achieved through the strategic placement of walkways and paths. When planning these routes, it is essential to consider their permeability. Utilizing materials such as crushed stone or permeable pavers allows a portion of the rainfall to soak into the ground naturally. The remaining runoff is then collected and moved via the subsurface Drainage Pipe Installation. This layering of functionality ensures that the garden remains walkable even after a storm. Furthermore, irrigation planning should be done in tandem with drainage. A garden that is perfectly irrigated but poorly drained will eventually suffer from root rot, particularly in species that require well-oxygenated soil.
The integration of focal points, such as a large ornamental tree or a stone sculpture, should also account for the water table. Placing a heavy focal point in a saturated area can lead to shifting or sinking over time. By installing a French drain near these features, you stabilize the ground and preserve the garden’s geometry. Every design choice, from the curve of a garden bed to the height of a mulch layer, should contribute to the movement of water away from the home and toward a safe exit point at the property line.
Plant and Material Selection
The following table highlights plant species and materials that are particularly effective when integrated into a comprehensive drainage and landscaping plan.
| Plant Type | Sun Exposure | Soil Needs | Water Demand | Growth Speed | Maintenance Level |
| :— | :— | :— | :— | :— | :— |
| River Birch | Full Sun / Part Shade | Moist, Acidic | High | Fast | Medium |
| Swamp Milkweed | Full Sun | Wet, Heavy Clay | High | Moderate | Low |
| Blue Flag Iris | Full Sun / Part Shade | Boggy, Saturated | High | Moderate | Low |
| Ligularia | Part Shade / Full Shade | Deep, Moist Humus | High | Moderate | Medium |
| Winterberry | Full Sun / Part Shade | Acidic, Wet | High | Slow | Low |
| Sedge (Carex) | Full Shade / Part Sun | Various, Moist | Medium to High | Moderate | Low |
Implementation Strategy
The first phase of a DIY Drainage Pipe Installation is a thorough site analysis. You must identify the lowest point of your yard, known as the discharge area, and the highest point where water originates. Using a string level or a laser level, mark the path of the trench to ensure a consistent downhill slope. For optimal performance, the pipe should drop at least 1 inch for every 8 feet of length. This ensures that gravity will effectively pull the water through the system without allowing it to pool and stagnate.
Once the path is marked, begin the excavation using a trenching shovel or a power trencher. The trench should be approximately 6 inches wide and 12 to 18 inches deep. After the soil is removed, line the bottom of the trench with a non-woven geotextile fabric. This fabric acts as a filter, allowing water to pass through while preventing silt and fine clay particles from clogging the pipe over time. This is a critical step that many beginners overlook.
Next, add a 1 to 2-inch layer of 3/4-inch washed drainage stone to the bottom of the fabric-lined trench. Place your 4-inch perforated PVC pipe or flexible corrugated pipe on top of the stone. If you are using perforated pipe, ensure the holes are facing downward. This may seem counterintuitive, but it allows the water table to rise into the pipe from below and then be carried away. Cover the pipe with more drainage stone until it is within 3 inches of the surface. Wrap the remaining geotextile fabric over the top of the stone, creating a “burrito” effect. This completely encases the stone and pipe in a protective filter layer. Finally, backfill the remaining space with topsoil and replace the sod or apply a layer of mulch.
For areas with heavy surface runoff, such as near a downspout or at the base of a hill, consider adding a catch basin. A catch basin is a plastic box with a grate on top that captures large volumes of water and directs them into the Drainage Pipe Installation. Integrating your downspout extensions directly into the subsurface pipe system is also a highly effective way to keep water away from your foundation. Use solid PVC pipe for the sections that connect the downspouts to the main drainage line to ensure no water escapes near the house.
Common Landscaping Failures
The most frequent failure in amateur Drainage Pipe Installation is improper grading. If the trench has even a slight “belly” or low spot, sediment will settle there and eventually block the entire line. This creates a hidden underground blockage that is difficult to locate without expensive camera equipment. Always double-check your measurements with a transit level before laying the pipe. Another common mistake is the use of the wrong gravel. Using “crusher run” or stone with fines will fill the gaps needed for water flow, effectively turning your pipe into a solid block of concrete-like material. Always specify washed stone to ensure maximum void space.
Root overcrowding is another significant issue. Many homeowners plant aggressive, water-seeking trees like Willows or Poplars directly over their drainage lines. The roots of these trees can exert immense pressure, eventually crushing the corrugated pipe or entering the perforations and filling the pipe with a thick mat of root hairs. To prevent this, keep large trees at least 10 feet away from your primary drainage lines. Additionally, failing to “daylight” the pipe correctly at the end of the run can cause water to back up. The discharge point must be clear of debris and protected by a pop-up emitter or a grated head to prevent small animals from nesting inside the pipe.
Seasonal Maintenance
A proactive maintenance schedule ensures that your landscape remains dry and your drainage system operates at peak capacity. In the spring, inspect all catch basins and remove accumulated leaves or silt. This is the time of year when heavy rains test the system. Ensure the pop-up emitters are opening freely and that no new erosion patterns have emerged on the lawn surface. If you notice “soft spots” near the drainage line, it may indicate a break in the pipe or a collapsed section.
During the summer, monitor the growth of plants near the drainage path. Excessive mulch can sometimes wash into the grates, so keep a clear perimeter around any surface openings. Autumn is the most critical time for maintenance. Falling foliage can quickly clog a catch basin or a French drain surface. Use a leaf blower or rake to keep these areas clear. In the winter, ensure that the discharge point is not blocked by heavy snow or ice. While water moves slower in the cold, the freeze-thaw cycle can cause soil to shift, potentially dislodging the slope of your pipes. A quick visual check once a month is usually sufficient to maintain the system’s longevity.
Professional Landscaping FAQ
How deep should I bury a drainage pipe in my lawn?
Standard installations require a depth of 12 to 18 inches. This provides enough room for a 2-inch gravel base, the 4-inch pipe, and a 6-inch layer of soil and turf on top to prevent the pipe from being crushed.
Should I use perforated or solid pipe for my backyard?
Use perforated pipe for French drains meant to collect groundwater across a wide area. Use solid PVC pipe for transporting water from downspouts or catch basins directly to a discharge point to prevent leaks near the foundation of the home.
What is the best type of stone for a French drain?
Professionals recommend 3/4-inch washed drainage stone or river rock. It is crucial to use “washed” stone, meaning it has no fine dust or sand, which ensures that water can flow freely between the stones and into the pipe.
Can I connect my downspouts directly to the drainage pipe?
Yes, connecting downspouts is highly effective. Use a debris filter or cleanout at the transition point to prevent leaves from the roof from entering the underground system. Ensure the connecting pipe is solid wall PVC for maximum durability.
How do I know if my yard has enough slope?
A minimum slope of 1 percent is required, which translates to a 1-inch drop for every 8 feet of pipe. You can verify this using a string level and two stakes or a digital laser level for greater accuracy.