
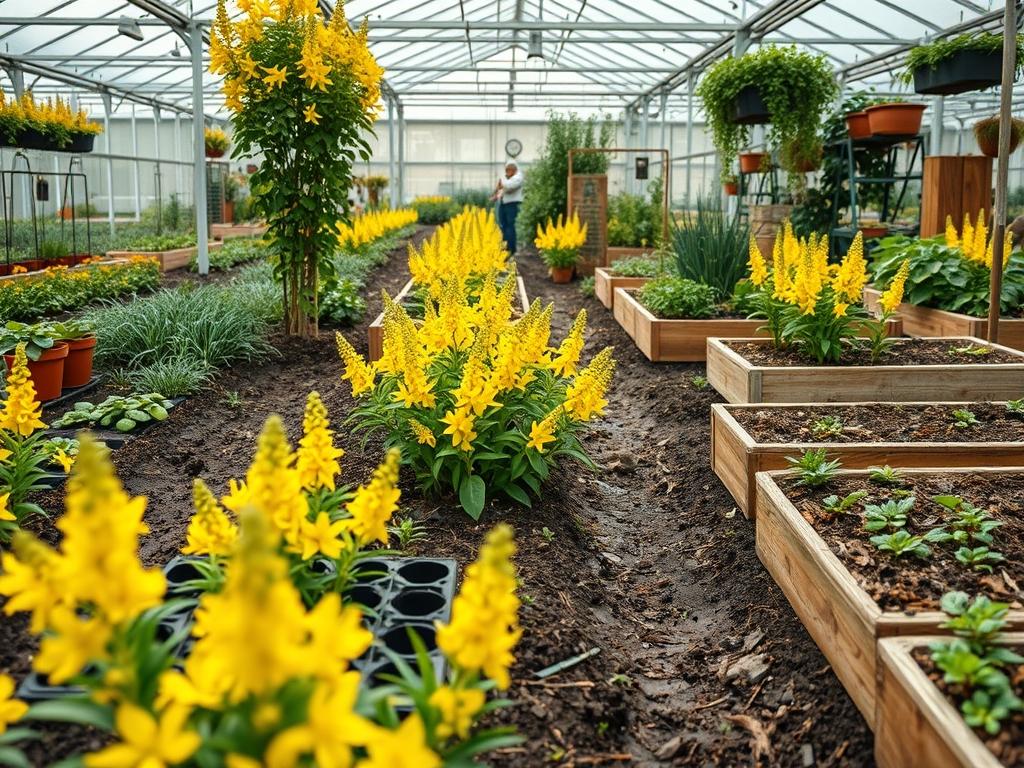
The success of a spring landscape display relies on the structural and biological readiness of the ground beneath it. Homeowners and designers often envision a striking mass of golden blooms when installing Forsythia x intermedia, yet they frequently overlook the foundational site work required to sustain this intense seasonal performance. Without targeted Forsythia Soil Prep, these vigorous deciduous shrubs can become stunted, yellowed from chlorosis, or prone to root rot. This guide outlines how to transform ordinary suburban soil into a high-performance growing medium, maximizing curb appeal and establishing a functional, low-maintenance outdoor architectural boundary.
Achieving a balance between drainage and nutrient retention is essential when incorporating these shrubs into a broader master plan. In residential landscapes, forsythia serves as a living privacy screen, a boundary marker, or an early seasonal focal point that breaks up winter monotony. However, urban and suburban construction often leaves behind compacted subsoil devoid of organic life. Preparing the earth with specific emphasis on aeration, nutrient density, and soil texture allows the root system to colonize quickly, giving the plant the energy needed to push out its signature yellow blossoms before its foliage emerges in early spring.
Landscape Design Principles
Integrating large, fast-growing shrubs requires careful adherence to spatial scale and visual balance. Designers must view the plant not just as an individual specimen but as a structural element that commands significant visual weight during its peak bloom. To achieve symmetry and balance, establish these shrubs against neutral backdrops, such as a dark evergreen hedge or a stone retaining wall, ensuring the brilliant yellow does not overwhelm adjacent delicate plantings.
“`
+————————————————————-+
| PROPERTY LINE WALL |
+————————————————————-+
| [Evergreen Screen: Juniperus chinensis / Taxus x media] |
| |
| [Focal Layer: Forsythia x intermedia (High Elevation)] |
| |
| [Mid-Layer: Buxus sempervirens / Hydrangea arborescens] |
| |
| [Ground Layer: Narcissus / Hostas (Low Elevation)] |
+————————————————————-+
| TURFgrass / LAWN |
+————————————————————-+
“`
Elevation layers play a vital role in showcasing early spring color. Placing these shrubs on a raised terrace or a slight slope increases their perceived height and enhances drainage, a critical biological necessity for healthy root development. When designing pathways and walkways, position the mature canopy line at least 4 feet away from pedestrian paving stones to avoid constant, aggressive pruning that strips the shrub of its arching, natural habit.
Irrigation planning must be integrated during the initial layout phase. Sub-surface drip systems should run along the root zone rather than relying on overhead sprayers, which can damage open flower petals and encourage fungal leaf spot. By mapping these lines relative to the slope and sun exposure, you can prevent water from pooling at the base of the plant while ensuring consistent moisture across the entire root zone during the active summer growth period.
Plant and Material Selection
Selecting the right cultivars and companion materials shapes the long-term maintenance needs of the property. The chart below provides a selection matrix for designing an early spring landscape anchored by forsythia.
| Plant Type | Sun Exposure | Soil Needs | Water Demand | Growth Speed | Maintenance Level |
| :— | :— | :— | :— | :— | :— |
| Forsythia x intermedia | Full Sun to Partial Shade | Well-drained loam, 6.5 to 7.5 pH | Moderate | Fast | Medium |
| Buxus sempervirens | Full Sun to Full Shade | Moist, well-drained soil, neutral pH | Moderate | Slow | Medium |
| Narcissus (Daffodils) | Full Sun to Partial Shade | Rich, porous soil, excellent drainage | Low | Medium | Low |
| Taxus x media (Yew) | Full Sun to Full Shade | Fertile, sandy, sharply drained soil | Moderate | Slow | Low |
| Hydrangea arborescens | Partial Shade to Full Shade | Rich, moisture-retentive, organic soil | High | Fast | Medium |
Implementation Strategy
Executing a precise layout requires an orderly sequence of physical soil conditioning and grading. Start by clearing the planting zone of turfgrass, weeds, and buried construction debris. For an individual shrub, use a heavy-duty square-point shovel to excavate a planting zone 3 times wider than the root ball, but no deeper than its current height in the nursery container. For hedge configurations, a trenching strategy is more effective, utilizing a mechanical rototiller or an excavator to loosen the earth along the entire length of the planned boundary.
“`
[3x Root Ball Width Planting Zone]
<------------------------------------------------->
___________ ___________
/ \ / \
____/ \___________/ \____ <- Existing Soil Line
| Root |
| Ball |
|___________|
<------------------------------------------------>
[Loosened Backfill Soil Mix]
[Depth Equals Root Ball Height]
“`
Grading must steer surface runoff away from the crown of the plant. If your site features heavy clay, integrate an option for deep aeration by mixing in coarse amusement sand and aged compost at a ratio of two parts native soil to one part amendment. Do not add pure sand alone to clay, as this creates a concrete-like texture. Instead, work the compost, leaf mold, and a slow-release granulated 5-10-10 fertilizer into the top 12 inches of the soil. This specific blend optimizes nutrient availability and lowers structural resistance, allowing the fine feeder roots to spread out horizontally.
Establish a clean edge around the bed using heavy-gauge aluminum landscape edging or a deeply cut spade edge. This barrier contains the mulch and keeps invasive turf roots out of your prepared soil bed. Once the shrub is set in place, backfill the hole using the amended native soil, tamping it gently with your hands rather than stamping with your feet to avoid compacting the freshly aerated earth.
Immediately apply a consistent layer of double-shredded hardwood mulch to a depth of 3 inches across the entire bed. Keep the mulch about 2 inches away from the main wooden stems to prevent fungal rot and rodent nesting. This mulch suppresses weeds, buffers soil temperatures through winter freezes, and slowly breaks down to supply organic matter to the root zone.
Common Landscaping Failures
The most frequent mistake in installing spring-flowering shrubs is planting them in poorly drained ground. When hidden in a backyard depression, low-oxygen environments drown the root system, causing root dieback that shows up as wilted leaves and sparse spring flowers. If a site lacks proper drainage, you must install a subsurface French drain or elevate the planting bed using a low stone retaining wall.
“`
[INCORRECT: Depressed Bowl Effect]
___ ___
\__ [Water Collects Here] __/
\______ ______/
\ Root Ball /
\___________/
(Causes oxygen deprivation and root rot)
[CORRECT: Elevated Mounded Bed]
/=============\
/ Top Mulch \
___________/ _____________ \___________
/ | Root | \
/ | Ball | \
/ |___________| \
<- Native Grade
(Promotes lateral drainage and aeration)
```
Another widespread issue is structural compaction from heavy machinery during home construction. Planting directly into this compressed substrate prevents roots from spreading outward, causing them to circle the planting hole like a pot-bound container plant. This root restriction limits nutrient intake and compromises the plant’s stability during major storms.
Improper spacing also ruins the architectural integrity of a forsythia installation. Spacing plants closer than 4 feet apart leads to severe overcrowding, blocking sunlight from the lower branches and causing them to drop their leaves. This results in a top-heavy, leggy privacy screen with minimal lower foliage.
Finally, shallow lawn irrigation systems cause problems by encouraging weak, surface-level rooting. When a lawn sprinkler moistens only the top 1 inch of soil daily, the shrub fails to develop the deep, resilient tap and lateral roots needed to endure summer droughts without dropping its leaves early.
Seasonal Maintenance
Managing a high-impact landscape requires specific tasks adjusted to the seasonal calendar.
- Spring: Right after the yellow flowers fade, complete all structural pruning. Remove one-third of the oldest, thickest canes right down to ground level using sharp bypass loppers to encourage new shoot growth. Apply a light layer of elemental sulfur if a soil test indicates the pH has drifted above 7.5.
- Summer: Monitor soil moisture during dry spells, using a soilage probe to verify that moisture reaches at least 6 inches deep. Provide a deep watering of 1 inch per week rather than frequent shallow waterings, keeping the foliage dry to prevent fungal spot diseases.
- Autumn: Add a generic 0-10-10 autumn fertilizer to encourage root development without triggering new, tender green growth that could be killed by early frosts. Top off the hardwood mulch layer to maintain a depth of 3 inches before the ground freezes.
- Winter: Check the branch network for ice storm damage and cut back any fractured stems with a hand pruning saw. Avoid applying rock salt or chemical de-icers near the root zone, as sodium buildup ruins soil structure and blocks nutrient absorption.
Professional Landscaping FAQ
#### How do I fix heavy clay soil before planting forsythia?
Excavate the planting zone and incorporate a mix of aged compost, leaf mold, and coarse organic matter down to a depth of 12 inches. This process opens up compacted clay, improves drainage, and increases aeration for root development.
#### Can forsythia handle sandy soil conditions?
Yes, but you must amend the site with rich compost or peat moss to increase water retention. Applying a 3-inch layer of hardwood mulch helps hold moisture and stops nutrients from washing through the sandy profile.
#### What is the ideal soil pH for maximum spring blooms?
Forsythia thrives best in a neutral to slightly acidic range between 6.5 and 7.5 pH. If your soil is highly alkaline, lower the pH by adding granulated elemental sulfur or iron sulfate based on your soil test results.
#### Should I put gravel at the bottom of the planting hole?
No, introducing gravel creates an artificial water table that keeps moisture right around the roots. Instead, blend organic compost throughout your native soil to ensure smooth, natural drainage from top to bottom.
#### How soon after planting should I fertilize the soil?
Mix a slow-release, phosphorus-rich 5-10-10 fertilizer into your backfill soil during installation. Avoid using high-nitrogen blends early on, as they encourage excessive leaf growth at the expense of next spring’s flower buds.