
Integrating a mulberry tree into a professional landscape design requires a careful balance between aesthetic goals and the specific biological demands of the Morus genus. While often celebrated for their rapid growth and delicious fruit, these trees can present challenges regarding site placement and debris management. From a landscape architect’s perspective, the primary goal is to harness the tree’s shade-providing canopy and rustic texture without compromising the functionality of walkways or the integrity of nearby structures. Successful integration begins with a thorough site analysis, focusing on how a mature mulberry will interact with long term curb appeal and the overall utility of the outdoor living space. Because these trees are exceptionally long lived, the decisions made during the planning phase regarding soil composition and drainage will resonate for decades.
Choosing the right location involves more than just finding a sunny patch of grass. Designers must account for the tree’s ultimate height and spread, which can reach forty feet in some species. In urban or suburban environments, this means checking for overhead utility lines and understanding the aggressive nature of the mulberry root system. A well placed tree provides a cooling microclimate for the home, potentially reducing energy costs during the summer months. Conversely, a poorly placed tree can lead to stained pavers and slippery surfaces when the fruit falls. For clients who value the architectural form of the tree but wish to avoid the mess, fruitless male cultivators offer a structured, clean alternative that maintains the lush, deep green foliage characteristic of the species.
Landscape Design Principles
In high end residential landscaping, the mulberry often serves as a primary focal point or a living privacy screen. Achieving symmetry is challenging with the Morus species because their growth is somewhat irregular and organic. To counteract this, designers often use a pair of weeping mulberry trees to flank a formal entrance or a gateway, providing a draped, sculptural effect that feels both intentional and whimsical. When planning for large scale landscapes, layering is essential. Positioning shorter shrubs and perennials beneath the canopy helps transition the eye from the vertical height of the tree down to the horizontal plane of the lawn or patio. This layering also serves a functional purpose by hiding the fallen fruit and leaf litter that can otherwise look untidy.
Elevation plays a critical role in the architectural health of the tree. In areas with heavy clay or poor natural drainage, creating a subtle mound or a raised planting bed is a standard professional practice. This technique, known as berming, improves the visual interest of the terrain while ensuring that the tree’s crown remains above the saturation zone. Walkways should be planned with a minimum ten foot clearance from the trunk of a fruiting variety. If paths must pass nearer, using permeable pavers or gravel allows for easier cleaning and better oxygen exchange for the roots. Visual balance is maintained by mirroring the density of the mulberry’s foliage with other broadleaf plants across the property, ensuring that the tree does not feel like an isolated outlier in the garden scheme.
Plant and Material Selection
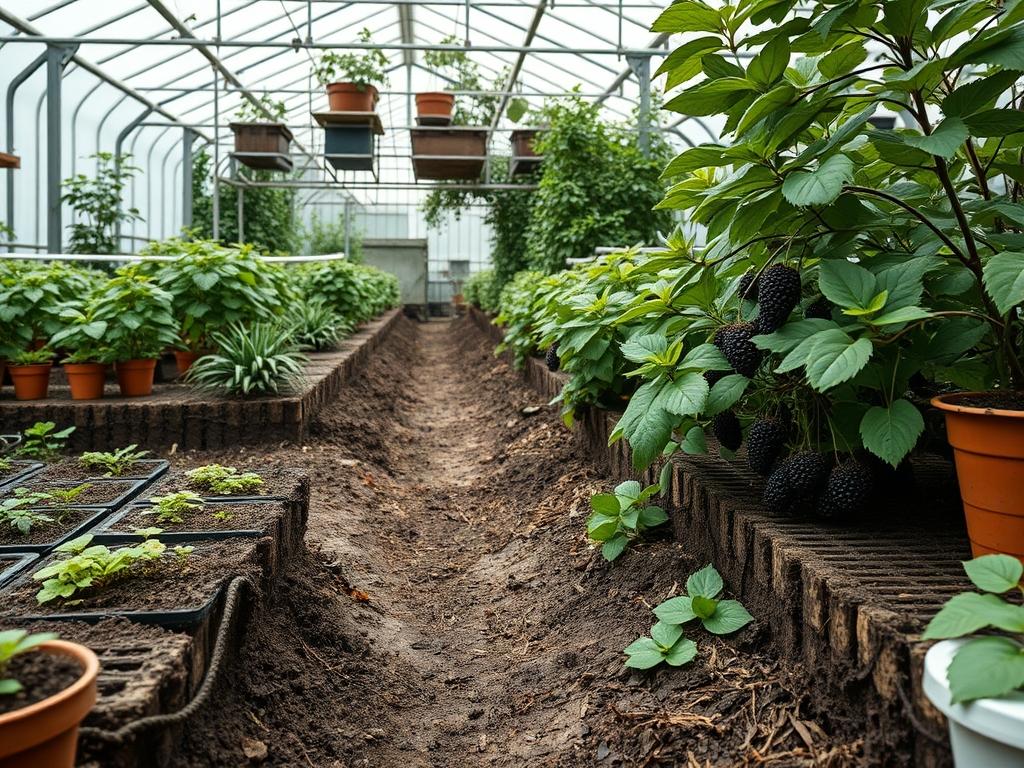
The success of a mulberry installation is largely dictated by the specific variety chosen and the quality of the substrate provided. The best soil for mulberries is generally a deep, well-draining sandy loam with a high concentration of organic matter. While these trees can adapt to various conditions, they will experience stunted growth and poor fruit production in compacted or waterlogged ground.
| Plant Type | Sun Exposure | Soil Needs | Water Demand | Growth Speed | Maintenance Level |
| :— | :— | :— | :— | :— | :— |
| Dwarf Everbearing | Full Sun | Rich, Silty Loam | Moderate | Fast | Medium |
| White Mulberry | Full/Partial | Well-Drained | Low to Moderate | Very Fast | High |
| Red Mulberry | Partial Shade | Moist, Organic | High | Moderate | Low |
| Weeping Mulberry | Full Sun | Sandy Loam | Moderate | Moderate | High |
| Fruitless Mulberry | Full Sun | Adaptable/Loamy | Low | Very Fast | Medium |
Beyond the plant itself, the materials used for the surrounding infrastructure are vital. For a professional finish, avoid cheap plastic edging. Instead, utilize heavy-gauge steel edging or stone masonry to define the tree’s root zone. This prevents turf grass from competing with the tree for nutrients. The selection of mulch is equally important. A double shredded hardwood mulch is preferred, as it stays in place during heavy rains and breaks down slowly, adding essential carbon back into the soil profile.
Implementation Strategy
The transition from a design on paper to a physical landscape requires a structured implementation strategy. Begin with professional grading to ensure that surface water moves away from the planting site. If the natural soil is heavy clay, don’t just dig a hole. Instead, excavate an area four times the width of the root ball and incorporate perlite or coarse sand to increase the macro-pore space. This modification creates the best soil for mulberries by facilitating rapid drainage.
Once the site is graded, the irrigation system must be installed. For mulberries, a dedicated drip line with multiple emitters is superior to overhead sprayers. This delivers water directly to the root zone and keeps the foliage dry, which reduces the risk of fungal leaf spot. When planting, the tree should be set so the root flare sits slightly above the surrounding grade. After backfilling with a mix of native soil and aged compost, apply a three inch layer of mulch, making sure to leave a gap between the mulch and the trunk to prevent bark rot.
Hardscaping elements, such as retaining walls or stone benches, should be installed after the tree is in the ground to prevent soil compaction from heavy machinery. If you are building a retaining wall near an existing mulberry, ensure you are not cutting significant structural roots. Using a “bridge” design for the wall’s foundation can preserve the tree’s health while achieving the desired elevation changes.
Common Landscaping Failures
The most frequent mistake in mulberry management is ignoring the soil’s bulk density. Soil compaction, often caused by heavy foot traffic or construction equipment, squeezes out the air pockets that roots need to breathe. Even the best soil for mulberries will fail if it is crushed into a brick-like consistency. To fix this, professionals use air excavation tools to loosen the soil without damaging the delicate feeder roots.
Another common failure is improper spacing. Because mulberries grow so quickly, many homeowners plant them too close to the house or other trees. Within five years, the canopies overlap, leading to poor airflow and increased pest pressure. Furthermore, improper drainage planning can lead to root rot. If the soil remains saturated for more than forty eight hours after a rain, the tree’s health will rapidly decline. Ensure that the planting site has a clear exit path for excess water, or install a French drain to redirect moisture away from the root zone.
Irrigation inefficiencies also plague many landscapes. Mulberries are drought-tolerant once established, but they require consistent moisture during the first two growing seasons. Failing to adjust the irrigation schedule as the tree matures can lead to “lazy” root systems that stay near the surface, making the tree vulnerable to windthrow during storms.
Seasonal Maintenance
Managing a mulberry tree is a year-round commitment that changes with the seasons. In the spring, apply a balanced, slow release fertilizer just as the buds begin to swell. This provides the nitrogen needed for the rapid foliage expansion characteristic of the Morus species. This is also the time to inspect irrigation lines for leaks or clogs caused by winter freezes.
During the summer, the focus shifts to moisture management and harvest. If the tree is a fruiting variety, regular cleaning of the surrounding hardscape is necessary to prevent staining and pests. Deep, infrequent watering during heat waves is better than light daily misting, as it encourages roots to grow deep into the cooler earth.
Autumn is the season for soil replenishment. As the tree drops its leaves, they can be shredded and left as a natural mulch, or removed and replaced with fresh organic compost. This is also a good time to check the structural integrity of the tree and plan for winter pruning.
Winter is the ideal time for major structural pruning while the tree is dormant. Removing crossing branches or “water sprouts” maintains the architectural form and improves sunlight penetration for the following year. Because the tree is bare, the landscape architect can clearly see the skeleton of the plant and make adjustments to the overall garden balance.
Professional Landscaping FAQ
How do I test if I have the best soil for mulberries?
Dig a hole twelve inches deep and fill it with water. If it drains in less than eight hours, your drainage is sufficient. If not, you must incorporate organic matter and sand to improve the soil structure and aeration.
Can I plant a mulberry tree near a pool?
It is generally discouraged. The fruit from female trees will stain the pool deck and can clog filtration systems. Additionally, the aggressive root system of a mature mulberry can potentially damage the underground plumbing or the pool shell over time.
What is the best mulch for a mulberry tree?
Aged wood chips or cedar mulch are excellent choices. Apply it in a wide circle around the base, three inches deep. This regulates soil temperature, retains moisture, and prevents the growth of competing weeds and grass near the trunk.
How often should I prune my mulberry for growth?
Structural pruning should occur every two to three years during the dormant winter season. Remove dead wood, thinning out the interior of the canopy to allow light and air to reach the center, which promotes healthier fruit and stronger branches.
Why are the leaves on my mulberry turning yellow?
This is often a sign of overwatering or poor soil drainage, leading to root stress. Check the moisture level six inches below the surface. If the soil is muddy, reduce irrigation and consider improving the site’s grading or drainage.