
Achieving the iconic, fiery crimson flush of new growth on a Photinia x fraseri hedge requires more than just regular watering and pruning; it demands a sophisticated understanding of soil architecture and chemistry. Many homeowners select the Red Robin variety for its rapid growth and dense coverage, yet they often overlook the fact that the brilliance of its foliage is a direct reflection of the root zone health. When we design high end landscapes, we view the soil as a living engine. If the soil is compacted, anaerobic, or nutrient-deficient, the plant will survive, but it will lack the metabolic energy required to produce the anthocyanins responsible for those vibrant red leaves. Successful Photinia Soil Prep starts months before the first container arrives from the nursery. It involves mitigating drainage issues, balancing pH levels, and ensuring that the physical structure of the earth allows for rapid gas exchange.
In professional landscape architecture, we approach a Photinia installation as both a functional screen and a visual anchor. These plants often serve as organic retaining walls or privacy barriers that define the perimeter of an outdoor living space. However, their success relies on the initial site analysis and the subsequent engineering of the ground. Proper preparation ensures that the shrubs do not merely exist but thrive as a lush, architectural element that enhances curb appeal and provides a backdrop for other garden features. By focusing on the structural integrity of the soil and the precision of the planting site, we create a sustainable environment where the plants can hit their growth milestones without the setback of root rot or leaf spot diseases.
Landscape Design Principles
When integrating Photinia into a master plan, we prioritize symmetry and visual balance. Because these shrubs can grow to heights of 10 feet to 15 feet, they create significant vertical mass. We often use them as a “green wall” to provide a neutral, yet textured, background for focal points like sculptures or water features. Elevation layers are critical here; we might set a Photinia hedge atop a low 6 inch stone plinth or a structured berm to give it additional stature and to ensure superior drainage away from the root flare.
Irrigation planning is another pillar of the design phase. We specify subsurface drip lines rather than overhead sprinklers to prevent moisture from sitting on the leaves, which is a primary cause of fungal infections. Walkways and hardscaping must be planned with a clear offset from the hedge line. We typically recommend a 3 foot clearance between the center of the trunk and any concrete or stone paths to allow for future trunk girth and to prevent root pressure from buckling the hardscape. This spacing also ensures that the architectural form of the hedge remains crisp and manageable.
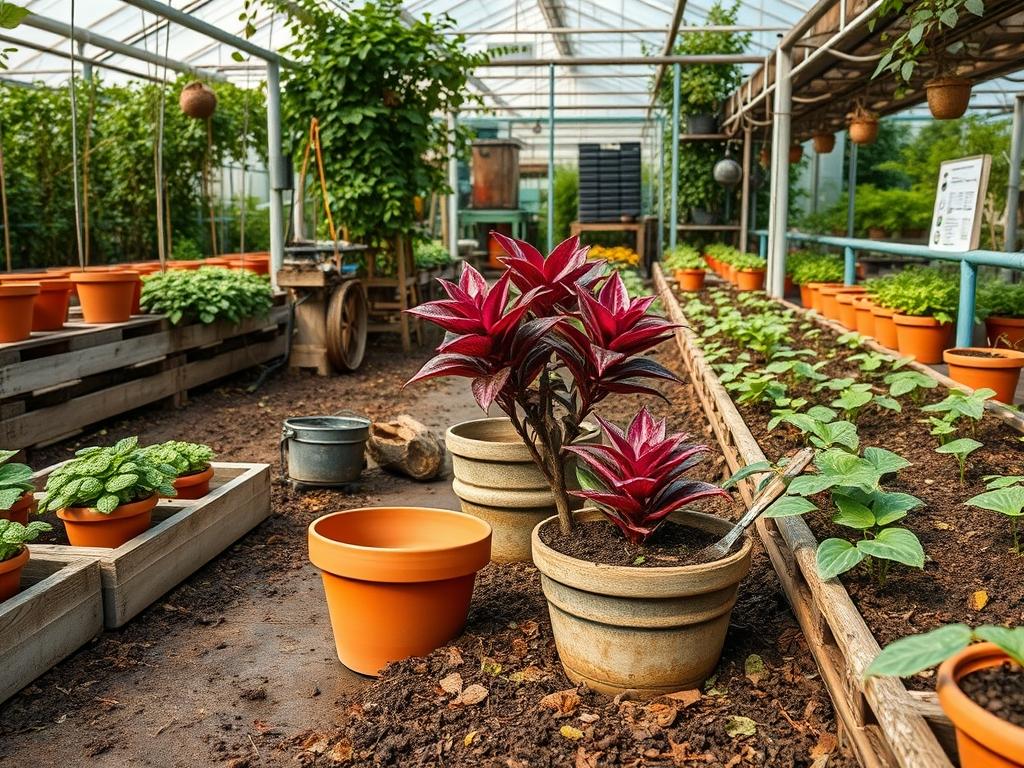
Plant and Material Selection
Selecting the right specimens and supporting flora is essential for a cohesive landscape. While the focus remains on Photinia, a balanced garden incorporates various textures and growth habits.
| Plant Type | Sun Exposure | Soil Needs | Water Demand | Growth Speed | Maintenance Level |
| :— | :— | :— | :— | :— | :— |
| Photinia x fraseri | Full Sun to Partial Shade | Well-drained, Fertile | Moderate | Fast | Moderate |
| Prunus laurocerasus | Full Sun to Deep Shade | Moist, Acidic | Moderate | Fast | High |
| Buxus sempervirens | Partial Shade | Loamy, Calcareous | Low | Slow | High |
| Lavandula angustifolia | Full Sun | Sandy, Gritty | Very Low | Moderate | Low |
| Miscanthus sinensis | Full Sun | Adaptable, Moist | Moderate | Fast | Low |
For Photinia Soil Prep, the material list should include high-quality Organic Compost, Slow-release 10-10-10 Fertilizer, Pine Bark Mulch, and Gypsum if you are dealing with heavy clay. Using a Trench Spade and a Power Auger can assist in creating the consistent soil texture needed across a long hedging run.
Implementation Strategy
The process begins with precise grading. You must ensure the planting area slopes away from building foundations at a minimum 2 percent grade. For a long hedge, we recommend digging a continuous trench rather than individual holes. This prevents the “bathtub effect” where water traps in a single pocket of loosened soil surrounded by hard clay. The trench should be 2 times as wide as the root ball and exactly the same depth.
Once the trench is excavated, incorporate 3 inches of well-rotten organic matter into the bottom and sides. If the native soil is heavy clay, mix in Expanded Shale or Coarse Sand to increase macropore space. This structural amendment is vital for Photinia Soil Prep because it facilitates the drainage of excess winter moisture. Position the plants so the top of the root ball is slightly above the surrounding soil line, maybe 1 inch higher, to account for settling. Backfill with a blend of native soil and compost, tamping down lightly with your hands to remove large air pockets without causing compaction. Finish with a 3 inch layer of Hardwood Mulch, keeping it away from the base of the stems to prevent bark decay.
Common Landscaping Failures
The most frequent mistake in Photinia management is poor drainage leading to “wet feet.” When roots sit in saturated soil, they cannot access oxygen, leading to root decline and the eventual shedding of leaves. Another issue is improper spacing. Many installers plant Photinia too close together, perhaps only 24 inches apart, seeking an instant screen. This leads to overcrowding within three years, reducing airflow and creating a breeding ground for Entomosporium leaf spot. We recommend a minimum of 36 inches to 48 inches between centers.
Soil compaction is another silent killer. Heavy machinery used during home construction often leaves the subsoil as hard as concrete. If you plant directly into this without mechanical loosening, the roots will eventually circle the hole and the plant will become stunted. Finally, irrigation inefficiency, specifically high-volume spray heads hitting the foliage in the late evening, almost guarantees fungal issues. The goal is a deep, infrequent soak at the soil level to encourage the roots to grow downward into the cooler, moister layers of the earth.
Seasonal Maintenance
In the Spring, focus on stimulating that red foliage. This is the time for a light pruning to remove any winter-damaged tips and a fresh application of a balanced, granular fertilizer. As the temperature rises, monitor the soil moisture; the soil should be moist at a depth of 4 inches.
During the Summer, the priority shifts to hydration and stress management. If the Photinia shows signs of wilting, check the mulch depth. A consistent 3 inch layer of mulch acts as an insulator, keeping the root zone significantly cooler than the ambient air temperature.
Autumn is the season for structural pruning. Shape the hedge so that the bottom is slightly wider than the top; this “A-line” profile allows sunlight to reach the lower branches, preventing the common problem of bottom-thinning. Avoid heavy nitrogen fertilization late in the season, as you do not want to encourage tender new growth right before a frost.
In the Winter, maintenance is minimal but crucial. If you live in a region with heavy snow, gently brush accumulation off the branches to prevent limb breakage. This is also an excellent time to test your soil pH. Photinia prefers a range between 6.0 and 7.5. If the soil has become too alkaline, a winter application of Elemental Sulfur can slowly bring the levels back down in time for the spring growth spurt.
Professional Landscaping FAQ
How deep should I dig the hole for a new Photinia?
The hole should be exactly as deep as the root ball but twice as wide. Planting too deep can suffocate the roots, while a wide hole encourages lateral root expansion into the amended Photinia Soil Prep zone.
What is the best way to fix poor drainage in a hedge line?
Install a French Drain parallel to the hedge or incorporate 4 inches of Expanded Shale into the soil. Ensuring the planting site is elevated by 3 inches above the surrounding grade also helps shed excess surface water effectively.
How often should I fertilize to keep the leaves red?
Apply a slow-release fertilizer twice a year, once in early Spring and again in mid Summer. This provides the consistent nutrient stream required for the plant to produce the pigments necessary for vibrant red foliage.
Are there native plants that look good with Photinia?
Pairing Photinia with native grasses like Muhlenbergia capillaris or flowering perennials like Salvia creates a beautiful contrast. These companions thrive in the same well-drained soil conditions and provide a variety of textures throughout the growing season.
Why are my Photinia leaves turning yellow instead of red?
Yellowing, or chlorosis, usually indicates a pH imbalance or a nitrogen deficiency. Test the soil to ensure it is not too alkaline. High pH levels prevent the plant from absorbing iron, which is essential for healthy, colorful foliage.