
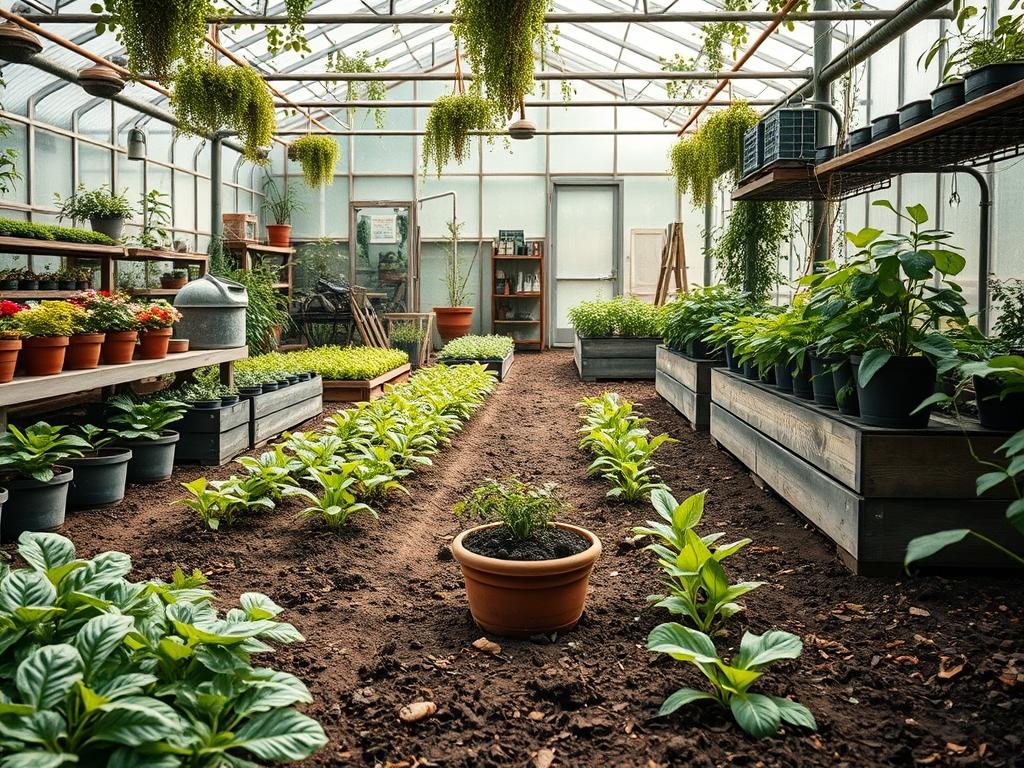
The foundation of any high-end landscape design rests not in the aesthetic foliage or the choice of stone, but in the invisible chemical composition of the earth beneath. When we approach a new project as landscape architects, our primary concern is the long-term sustainability and curb appeal of the environment. A common challenge in modern outdoor planning is the degradation of soil quality through construction compaction and the leaching of essential nutrients. This often results in expensive specimen trees and manicured perennials failing to reach their genetic potential. Using Azomite in soil as a foundational amendment allows us to reintroduce over seventy trace minerals and rare earth elements that are typically absent from standardized commercial fertilizers. By addressing the mineral density of the site during the initial grading phase, we ensure that the outdoor living space maintains its structural beauty and functional health for decades rather than just a few seasons.
A well-executed landscape serves as an extension of the home, bridging the gap between interior comfort and the raw natural world. Achieving this requires more than just a keen eye for color; it demands a rigorous understanding of the site’s environmental constraints. When we plan for elevation changes, retaining walls, and drainage swales, we must also consider how the root zones of our focal plants will interact with the revised topography. Soil that has been stripped of its volcanic minerals during site prep often yields stunted growth and yellowing leaves, which can ruin the visual balance of a symmetrical entryway or a formal garden. By integrating a mineralized approach to soil preparation, we are able to build resilience against local climate stressors, such as heat waves or sudden frosts, ensuring that the homeowner’s investment in professional landscaping remains protected and vibrant.
Landscape Design Principles
Successful landscape design is rooted in the strategic application of symmetry, focal points, and elevation layers. When we design a master plan, we look at the site’s three-dimensional volume. Symmetry is often used near entrances to create a sense of order and prestige, requiring identical plant growth on either side of a walkway. To achieve this, soil consistency is paramount. If one side of the driveway contains trace mineral deficiencies while the other is rich, the resulting uneven growth will destroy the intended visual balance. Integrating Azomite into the soil at the time of planting provides a uniform baseline of micronutrients, ensuring that your Hedges or Topiary specimens grow at a synchronized rate.
Focal points, such as a large Japanese Maple or a bespoke water feature, act as the anchor for the entire outdoor environment. These elements require healthy, robust vegetative support to stand out. We use elevation layers to create depth, placing low-lying groundcovers in the foreground, mid-sized shrubs in the center, and tall canopy trees in the rear. Each of these layers competes for nutrients within the same vertical column of soil. By applying 0.5 lbs of mineral dust per 10 square feet during the bed preparation phase, we reduce this competition and allow different species to flourish in close proximity. Irrigation planning must also account for mineral solubility; well-mineralized soil often exhibits better water retention and capillary action, making your sprinkler or drip system more efficient.
Plant and Material Selection
Selecting the right materials involves balancing the biological needs of the flora with the structural requirements of the terrain. The following table outlines how different plant categories interact with mineral-rich soil environments.
| Plant Type | Sun Exposure | Soil Needs | Water Demand | Growth Speed | Maintenance Level |
| :— | :— | :— | :— | :— | :— |
| Ornamental Trees | Full to Partial | Deep, Mineralized | Moderate | Medium | Medium |
| Evergreen Shrubs | Full Sun | Well-Drained | Low to Medium | Slow | Low |
| Perennial Flowers | Full Sun | Loamy, High Trace | Moderate | Fast | High |
| Ground Covers | Shade to Full | Compact-Resistant | Low | Fast | Low |
| Native Grasses | Full Sun | Lean, Mineral-Rich | Very Low | Medium | Very Low |
| Hardscape Edging | N/A | Compacted Base | N/A | N/A | Minimal |
Implementation Strategy
The implementation of a professional landscape begins with site grading and drainage management. Before any plants are placed, the land must be shaped to direct water away from the home foundation and toward designated drainage zones. Once the sub-grade is established, we focus on the top 6 to 12 inches of the planting beds. This is the critical window for using Azomite in soil. We recommend a heavy application for new installations, roughly 44 lbs per 1,000 square feet, tilled directly into the upper layer. This ensures that as new root systems expand, they immediately encounter a dense concentration of volcanic minerals.
Following the soil amendment, the installation of hardscaping materials like Pavers, Flagstone, and Retaining Wall Blocks should be completed. Only after the heavy machinery and stone work are finished do we move to the softscaping phase. When planting individual specimens, we suggest a technique called “hole fortification.” For a 5-gallon shrub, mix 2 tablespoons of Azomite with the backfill soil. This provides a localized boost that helps the plant overcome transplant shock. Finally, apply a layer of Hardwood Mulch at a depth of 2 to 3 inches to lock in moisture and protect the newly mineralized soil from UV degradation and erosion.
Common Landscaping Failures
One of the most frequent mistakes in residential landscaping is the over-reliance on synthetic NPK (Nitrogen, Phosphorus, and Potassium) fertilizers while ignoring micronutrients. This creates a “fast-food” effect where plants grow rapidly but have weak cellular structures, making them susceptible to pests and disease. Using Azomite in soil helps to strengthen cell walls by providing soluble silica and calcium. Another common failure is improper drainage planning. When water pools around the root ball, it creates an anaerobic environment that leads to root rot. Even the best mineral additives cannot fix a plant that is effectively drowning.
Soil compaction is another silent killer of high-end landscapes. During construction, heavy equipment crushes the pore spaces in the soil, preventing air and water from reaching roots. If you do not aerate and amend these compacted zones with mineral dust and organic matter, your plants will struggle to survive the first summer. Additionally, improper spacing is a frequent error. Architects must account for the mature width of a plant. When shrubs are packed too tightly, they compete for the limited trace minerals available in the soil, leading to “die-back” in the center of the hedge. Proper spacing, combined with a broad-spectrum mineral application, ensures that each plant has the resources it needs to fill its designated space without stress.
Seasonal Maintenance
Landscape management is a year-round commitment that changes with the cycles of the sun and temperature. In the Spring, the focus is on awakening the garden. This is the ideal time for a top-dress application of minerals. As the ground thaws, applying a light dusting of Azomite around the drip line of trees and shrubs allows the spring rains to wash the micronutrients down to the root zone just as seasonal growth begins. You should also inspect your irrigation lines for leaks and clear any debris from drainage grates to prevent flooding during spring storms.
During the Summer, the priority shifts to stress management and moisture retention. High temperatures increase the metabolic rate of plants, meaning they consume nutrients more quickly. A mid-summer mineral application can help perennials maintain their bloom color and prevent the “washed out” look often seen in late July. In the Autumn, maintenance involves preparing the landscape for dormancy. This is the time to apply a final round of minerals and a fresh layer of mulch. The silica in volcanic minerals helps to strengthen the wood of trees, making them more resistant to ice damage and heavy snow loads. During Winter, maintenance is primarily structural. Check your retaining walls for shifting and prune deciduous trees while they are dormant to ensure a vigorous return in the spring.
Professional Landscaping FAQ
How often should I apply Azomite to my landscape beds?
For established landscapes, a single application in early spring is usually sufficient. If you have sandy soil that leaches nutrients quickly, a second application in late autumn will help maintain mineral density throughout the dormant winter months.
Can using Azomite in soil burnt my delicate perennials?
No, it is a volcanic rock dust and contains virtually no nitrogen. It has a very low salt index, meaning it will not burn roots or foliage even if applied in slightly higher concentrations than recommended on the packaging.
Does this product change the pH of my garden soil?
It is generally considered pH neutral and will not significantly alter the acidity or alkalinity of your soil. It is safe for both acid-loving plants like Azaleas and neutral-soil plants like Boxwoods or Turf Grasses.
Is it necessary to till the minerals into the ground?
While tilling is most effective for new installations, you can simply broadcast the dust over existing mulch or turf. Rain and irrigation will eventually move the microscopic particles down into the soil profile through natural percolation.
Can I use this in conjunction with organic compost?
Absolutely. Combining mineral dust with high-quality organic compost creates a synergistic effect. The organic matter improves soil structure and biology, while the minerals provide the raw elemental building blocks that the microbes and plants require for long-term health.