
Every successful landscape project begins with a deep understanding of the soil foundation. Most homeowners focus exclusively on the visual elements of a property, such as the height of a Boxwood hedge or the color of a Hydrangea bloom, but the long term health of these investments relies on the underlying biological activity of the earth. As a landscape architect, I often encounter clients who are intimidated by the perceived complexity of soil management. They assume that creating high quality organic matter requires technical expertise or expensive chemical interventions. However, cold composting methods offer a practical and passive solution for beginners who want to enhance their outdoor environment without the labor intensive demands of hot composting. By integrating cold composting into a professional landscape plan, property owners can improve their curb appeal, promote sustainable nutrient cycling, and resolve drainage issues through improved soil structure.
Effective landscape design is not just about the placement of plants; it is about the functionality of the entire outdoor living space. When we design high end properties, we consider how the utility zones, such as the compost area, interact with the aesthetic zones. Cold composting methods are particularly advantageous in this context because they do not require frequent turning or monitoring of internal temperatures. This means the designated area can be tucked away in a less visible part of the yard, perhaps screened by Arborvitae or a well designed retaining wall, where it can process organic waste quietly and efficiently over a period of six to twelve months. This passive approach fits perfectly into a low maintenance lifestyle while still providing the essential humic acids and nutrients that modern landscapes require to thrive.
Landscape Design Principles
A professional landscape must balance aesthetic appeal with practical utility. This requires a focus on symmetry and focal points to guide the eye, but it also necessitates a plan for the back of house operations that keep the garden healthy. When incorporating a site for cold composting methods, we must consider elevation and proximity. Placing the compost area at a slightly lower elevation than the primary garden beds can prevent nutrient runoff from moving toward hardscaped areas like patios or driveways. Instead, any leaching of nitrogen or potassium should ideally flow toward the lawn or ornamental borders.
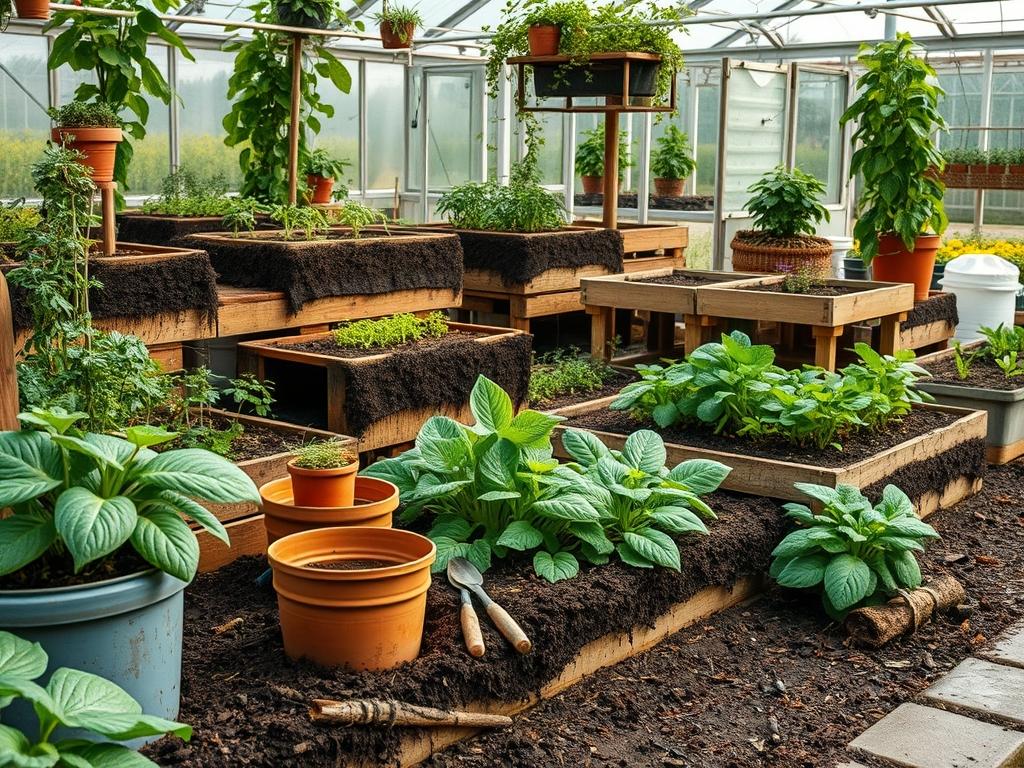
Visual balance is achieved when functional elements are integrated into the overall geometry of the site. I often recommend using screening panels or landscape timber to create a structured bin for the compost. This ensures that the pile does not become an eyesore that detracts from the property value. Furthermore, walkways should be planned to provide easy access to the compost site. Using crushed granite or irregular flagstone for these paths ensures that homeowners can transport organic materials like grass clippings or fallen leaves using a poly wheelbarrow without compacting the surrounding turf. Proper irrigation planning is also essential; while cold composting requires less moisture than hot methods, the site should be near a garden hose or a drip line to prevent the pile from becoming excessively dry during peak summer months.
Plant and Material Selection
The following table outlines plants that thrive when supported by the rich, microbiology heavy soil produced by passive composting. Selecting the right species ensures that your landscape remains resilient across varying environmental conditions.
| Plant Type | Sun Exposure | Soil Needs | Water Demand | Growth Speed | Maintenance Level |
| :— | :— | :— | :— | :— | :— |
| English Yew | Full Sun to Shade | Well-Drained | Medium | Slow | Low |
| Japanese Maple | Partial Shade | Slightly Acidic | High | Medium | Moderate |
| Purple Coneflower | Full Sun | Well-Drained | Low | Fast | Low |
| Feather Reed Grass | Full Sun | Moist to Wet | Medium | Fast | Very Low |
| Red Oak | Full Sun | Loamy/Rich | Medium | Slow | Low |
| Azalea | Partial Shade | Acidic/Organic | High | Medium | Moderate |
Implementation Strategy
The transition from a design on paper to a physical landscape requires a methodical implementation strategy. To start a cold composting site, first select a flat area with good drainage to prevent water from pooling at the base of the pile. Use a square-point shovel to clear a 4-foot by 4-foot area of all existing sod and weeds. Grading is critical here; the site should be slightly crowned to encourage surface water to move away from the center. Once the area is cleared, install a metal garden fence or a wooden bin to contain the organic matter.
The actual layering process is where cold composting methods shine in their simplicity. Begin with a 6-inch layer of carbon rich materials, such as shredded bark or dried leaves. This bottom layer allows for essential airflow from beneath the pile. Follow this with a 3-inch layer of green materials like vegetable scraps or fresh grass. Unlike hot composting, which requires a specific carbon to nitrogen ratio and frequent aeration, cold composting simply asks that you continue adding layers as they become available. To keep the site looking professional, use a manual edger to create a sharp line between the compost bin and the surrounding mulch. Applying a 2-inch layer of dark hardwood mulch around the perimeter can further define the space and suppress weed growth.
Common Landscaping Failures
Many beginners encounter setbacks not because of a lack of effort, but because of foundational errors in their landscape management. One of the most common issues is poor drainage. If a compost pile or a garden bed is situated in a low spot without an exit for excess water, the soil becomes anaerobic. This leads to a foul smell in the compost and root rot in plants like the Lavender or Peony. Another frequent failure involves root overcrowding. When planting near a compost site, homeowners often underestimate the spread of a tree or shrub. This leads to roots infiltrating the compost bin, which makes it difficult to harvest the finished material later.
Soil compaction is another silent killer of landscape health. Using heavy machinery or even consistent foot traffic over wet soil collapses the pore spaces that hold oxygen. Without oxygen, the microorganisms responsible for cold composting cannot function. This is why defined walkways made of paver stones or decomposed granite are so vital. Finally, irrigation inefficiencies often plague new gardens. Over-watering a cold compost pile can wash away the very nutrients you are trying to cultivate, while under-watering will stall the decomposition process entirely. A balanced approach, monitored with a soil moisture meter, is the professional standard for success.
Seasonal Maintenance
Landscape management is a year round commitment that shifts with the weather. In the spring, the focus should be on application. Remove the bottom layer of finished compost and spread a 1-inch layer across your flower beds. This acts as a natural fertilizer just as the Tulips and Daffodils begin to emerge. During the summer, maintenance involves monitoring hydration. If the weather is particularly dry, give your compost pile a light spray of water to keep the microbial activity moving.
As autumn arrives, the volume of organic waste increases significantly. This is the primary season for gathering Oak leaves and Maple leaves to fuel your compost for the coming year. Shredding these leaves with a leaf mulcher before adding them to the pile will significantly speed up the passive decomposition process. In the winter, the goal is insulation. Covering the pile with a heavy duty tarp or a thick layer of straw can help maintain a slightly higher internal temperature, allowing the microbes to continue working even as the air temperature drops. This ensures that by the following spring, you have a fresh supply of black gold to nourish your landscape.
Professional Landscaping FAQ
How large should a beginner cold compost pile be?
A standard footprint of 3 feet by 3 feet is ideal. This size is large enough to retain some internal moisture and heat while remaining small enough to manage without specialized heavy equipment or a complex aeration system.
Can I put weeds in a cold compost system?
It is generally best to avoid putting mature weeds with seed heads into cold piles. Since cold composting does not reach temperatures high enough to kill seeds, you may inadvertently spread dandelion or thistle seeds when applying the finished compost.
How do I prevent pests from entering the pile?
Avoid adding meat, dairy, or oily foods to the mixture. Stick to garden waste and vegetable scraps. Keeping the pile covered with a layer of brown material like dried leaves or straw will also discourage rodents and flies from nesting.
Does cold composting require a specific bin?
No, a bin is not strictly necessary, but it is recommended for a professional aesthetic. A simple wire mesh cylinder or a cedar wood frame helps keep the site organized and prevents wind from scattering debris across your manicured lawn.
How long does it take to get finished soil?
Depending on the climate and the materials used, cold composting typically takes between 6 months and 1 year. Shredding large materials into smaller pieces with pruning shears can help reduce wait times by increasing the surface area for microbial decay.