
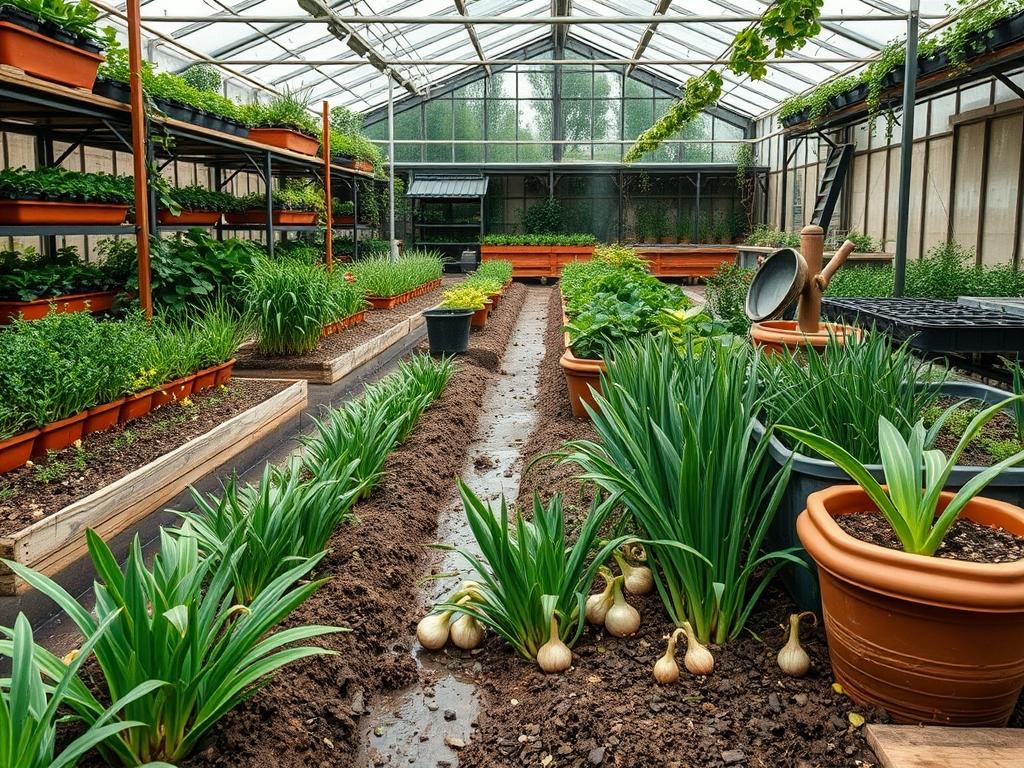
Integrating edible crops into a sophisticated landscape design requires a deep understanding of subterranean dynamics and aesthetic harmony. For the modern estate owner or professional designer, the challenge lies in blending functionality with visual appeal. While many perceive vegetable patches as utilitarian eyesores, a well executed plan treats the garden as a living extension of the architecture. The Best Soil for Shallots serves as the foundation for this success, acting as both a biological engine and a structural component of the site. Shallots, unlike their more aggressive onion cousins, possess a refined, clump-forming habit that makes them ideal for edging and formal borders. However, their success is entirely dependent on the physical properties of the earth. In high-end property development, we often encounter heavy clays or compacted urban soils that stifle root growth and cause bulb rot. To achieve professional results, the soil must be engineered to provide rapid drainage while maintaining enough nutrient density to support the long growing season. This dual requirement for porosity and fertility defines the gritty, loose texture necessary for premium yields and healthy foliage. When we design these spaces, we consider the curb appeal of the vibrant green stalks against hardscaping materials like Granite Edging or Cedar Raised Beds. A failing crop due to poor soil results in yellowed, drooping tips that detract from the overall landscape value. Therefore, soil preparation is not merely a gardening task; it is a critical phase of outdoor environment consulting that ensures the longevity and beauty of the installation.
Landscape Design Principles
Successful garden planning relies on the integration of symmetry and focal points to guide the eye across the property. When incorporating shallots, we use them to define the transition between hard walkways and softer planting zones. Using Raised Beds at varying elevations creates a layered effect, allowing for easier maintenance and superior control over the growing medium. The elevation layers also assist in the natural movement of water, preventing the saturation that often plagues ground-level vegetable plots. We emphasize the use of focal points, such as an ornamental Stone Sundial or a sculptural Bird Bath, around which the edible borders are arranged. This creates a sense of purpose and prevents the garden from appearing haphazard.
Irrigation planning is another pillar of landscape architecture. We design systems that deliver water directly to the root zone via Drip Irrigation Lines, avoiding the foliage to reduce the risk of fungal pathogens. This structural approach ensures that every plant receives a consistent volume of moisture, which is essential for uniform bulb development. Visual balance is achieved by pairing the fine, vertical texture of Shallots with broader-leaved perennials or structured shrubs like Boxwood. By managing the height and density of these layers, we create a landscape that feels lush yet organized. Walkways crafted from Crushed Limestone or Flagstone provide the necessary access for harvesting without compacting the specialized soil mix we have meticulously installed.
Plant and Material Selection
| Plant Type | Sun Exposure | Soil Needs | Water Demand | Growth Speed | Maintenance Level |
| :— | :— | :— | :— | :— | :— |
| Shallots (Allium cepa) | Full Sun | Loose, Gritty Loam | Moderate | Medium | Low |
| Rosemary | Full Sun | Well-Drained Sand | Low | Slow | Low |
| Thyme | Full Sun | Gritty Earth | Low | Medium | Low |
| Buxus (Boxwood) | Partial to Full Sun | Rich, Well-Drained | Moderate | Slow | High |
| Lavender | Full Sun | Alkaline, Gritty | Very Low | Medium | Moderate |
| Sage | Full Sun | Sandy or Gritty | Low | Medium | Low |
Implementation Strategy
The transition from a blueprint to a thriving garden begins with site grading. Proper grading ensures that surface water moves away from the planting zones, which is vital when searching for the Best Soil for Shallots. We start by excavating the existing substrate to a depth of 12 inches to remove any debris or compacted “hardpan.” If the site has poor natural drainage, we install a Perforated Drain Pipe encased in Landscape Fabric and River Rock to facilitate water exit. Once the subgrade is established, we install the edging. For a modern look, Steel Edging provides a crisp line, while Tumbled Brick offers a more classical aesthetic.
Following the structural layout, we introduce the engineered soil. We recommend a blend of 40% Coarse Sand, 40% Compost, and 20% Topsoil. This mixture provides the gritty texture that allows shallot bulbs to expand without resistance. We incorporate Horticultural Grit or Perlite to further enhance the aeration. After the soil is leveled, a layer of Finely Shredded Bark Mulch is applied at a depth of 2 inches. This mulch helps regulate soil temperature and suppress weeds without being so heavy that it traps excessive moisture against the delicate necks of the plants. Finally, we install the Drip Irrigation Emitters, spacing them roughly 6 inches apart to ensure even coverage across the entire bed.
Common Landscaping Failures
The most frequent error in edible landscaping is ignoring soil compaction. Construction equipment or heavy foot traffic often leaves the earth as hard as concrete, preventing oxygen from reaching the roots. When shallots are planted in compacted ground, they become stunted and prone to “damping off.” Another major failure is the improper use of organic matter. While high-grade Compost is beneficial, an over-application of un-aged manure can introduce excessive nitrogen, leading to lush foliage but tiny, underdeveloped bulbs.
Drainage mistakes often stem from a lack of site analysis. Homeowners frequently plant in low-lying areas where water collects after a rainstorm. Without a French Drain or significant elevation, these “wet feet” conditions will kill the crop within days. Root overcrowding also occurs when designers prioritize immediate density over long-term growth. Leaving at least 4 to 6 inches of space between each plant is necessary to allow for the natural expansion of the clusters. Lastly, irrigation inefficiencies, such as using overhead sprinklers, often lead to mildew and rot. A professional landscape requires a targeted approach that respects the physiology of the plants.
Seasonal Maintenance
Spring management focuses on the activation of the garden. As the ground thaws, we use a Hand Cultivator to gently aerate the top layer of the grit. This is the ideal time to apply a balanced, slow-release Organic Fertilizer to kickstart the growth cycle. We also inspect the Irrigation Valves for any winter damage. As the temperature rises, the focus shifts to moisture management and weed control. Since shallots have shallow root systems, even minor weed competition can significantly impact their volume.
During the summer, the primary goal is monitoring for pests and ensuring the soil does not become hydrophobic. If the grit dries out too much, water may run off rather than soaking in; a light raking of the surface can break this surface tension. By mid-summer, the shallot foliage will begin to flag and turn yellow, signaling it is time to reduce water. Autumn involves the harvest and the subsequent restoration of the site. We remove all spent plant material to prevent overwintering pests and add a fresh 1 inch layer of Compost to replenish nutrients. In winter, the landscape should be protected with a thicker layer of Straw Mulch or Pine Boughs to prevent frost heave, which can push bulbs out of the ground during freeze-thaw cycles.
Professional Landscaping FAQ
How deep should the grit layer be for shallot beds?
A minimum of 8 to 10 inches of loose, gritty soil is required. This depth allows for proper drainage and provides enough vertical space for the roots to anchor without hitting compacted subsoil or pooling water.
Can I use playground sand for the soil mix?
No, playground sand is often too fine and can actually contribute to compaction. Professionals use Horticultural Grit or Coarse Builder’s Sand to create the necessary macropores that allow for air and water movement.
How do I know if my soil drainage is sufficient?
Perform a percolation test by digging a 12-inch hole and filling it with water. If it drains in less than four hours, it is suitable. If it takes longer, you need more grit and better grading.
What is the best mulch for gritty bulb beds?
Use a light, breathable material like Pine Needles or Clean Straw. Avoid heavy, dyed wood chips, as they can retain too much moisture around the plant crowns and cause the bulbs to rot during humid months.
Should I use a rototiller to mix the soil?
While a Tiller is useful for initial mixing, over-tilling can destroy soil structure. Use a Broadfork for annual maintenance to aerate the soil without pulverizing the essential gritty particles that maintain the earth’s natural drainage capacity.