
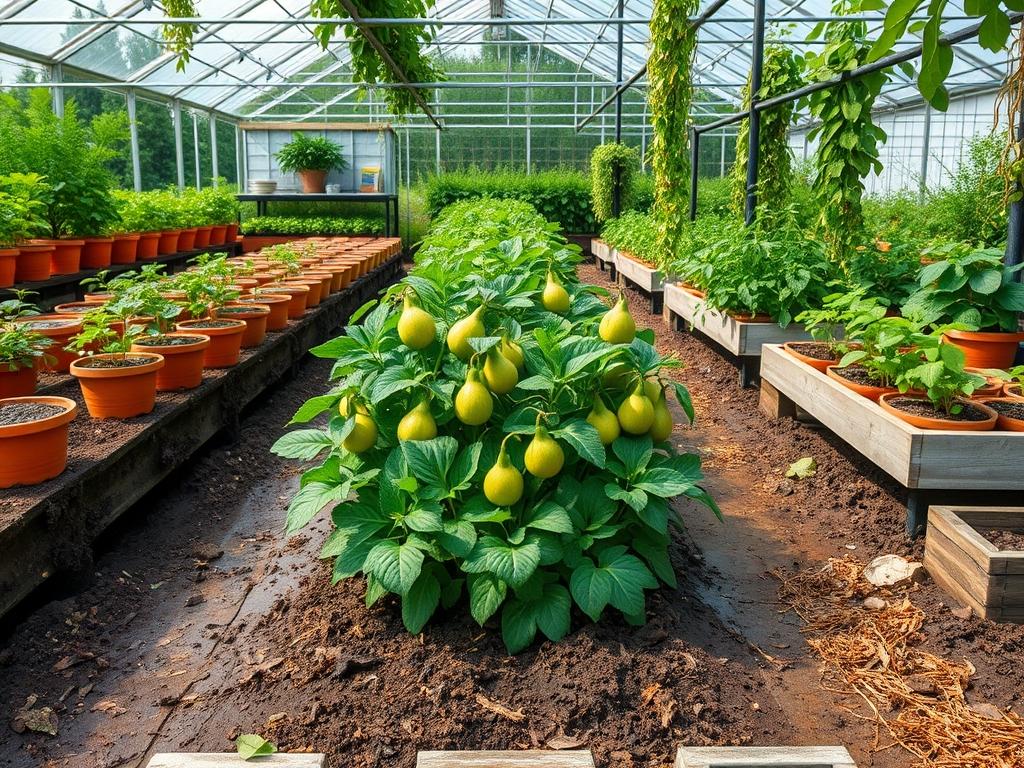
Integrating a Medlar tree into a modern landscape requires a shift in perspective from standard fruit production to high-end architectural design. These ancient specimens, known scientifically as Mespilus germanica, offer a rare combination of twisted, sculptural wood and a canopy that provides profound seasonal shifts. When planning an outdoor environment, the challenge lies in balancing the deep heritage of this species with contemporary aesthetic goals. A well-placed tree acts as a living sculpture, but its long-term viability depends entirely on the substrate. The best soil for medlars remains a deep, well-drained, traditional loam. This specific soil structure ensures the heavy, decorative fruit can develop without stressing the vascular system of the tree. Beyond the biology, the placement of a Medlar affects the overall curb appeal by providing a sophisticated alternative to more common ornamental cherries or crabapples. From a functional standpoint, the tree offers localized shade and a structural anchor for a garden bed, provided the site is graded correctly to prevent water from pooling at the base of the trunk.
Landscape Design Principles
Successful landscape design relies on the deliberate application of symmetry and the creation of clear focal points. The Medlar tree naturally draws the eye due to its unusual growth habit and large, white or blush-pink spring blossoms. To maximize its impact, designers often place it at the terminus of a primary walkway or in the center of a formal courtyard. This creates a sense of arrival and purpose within the garden layout. Symmetry can be achieved by flanking a large Medlar with low-growing, uniform hedges or by echoing its shape with smaller, globular shrubs in the mid-ground.
Elevation layers are equally important. A specimen tree should never stand in isolation; it requires a tiered approach to visual weight. This involves planning the vertical transition from ground-cover to perennials, then to mid-sized shrubs, and finally to the tree canopy. In a professional layout, we look at the drip line of the Medlar as a boundary for shadow-loving plants. Irrigation planning must be integrated into this design phase, ensuring that the moisture needs of the tree do not conflict with the drainage requirements of surrounding hardscaping.
Visual balance is also maintained through the use of “negative space.” By leaving open stretches of turf or gravel near the base of the tree, the intricate texture of the Medlar bark becomes more prominent. We often use Retaining Walls or raised stone planters to elevate the tree slightly, particularly in areas with heavy clay. This provides an immediate uplift in the landscape profile while solving potential drainage issues simultaneously.
Plant and Material Selection
Choosing the right components to surround your tree is as critical as the tree itself. The following table outlines the requirements for a Medlar and common companion elements used in professional installations.
| Plant or Material | Sun Exposure | Soil Needs | Water Demand | Growth Speed | Maintenance Level |
| :— | :— | :— | :— | :— | :— |
| Medlar Tree | Full Sun to Part Shade | Loam (40% Sand, 40% Silt, 20% Clay) | Moderate | Slow to Medium | Low |
| Comfrey | Part Shade | Rich, Moist | High | Fast | Moderate |
| Wood Chip Mulch | N/A | Organic Matter | N/A | N/A | Low (Annual) |
| River Rock | N/A | Well-Drained | N/A | N/A | Very Low |
| Dwarf Boxwood | Full Sun to Part Shade | Well-Drained Loam | Moderate | Slow | High (Pruning) |
| Spring Bulbs | Full Sun | Well-Drained | Low | Seasonal | Low |
Implementation Strategy
The transition from a design on paper to a physical landscape requires a methodical implementation strategy. The first step involves professional grading. The ground must slope away from the planting site at a minimum of 2 percent to ensure that heavy rainfall does not saturate the root zone. Once the grade is established, the site is cleared of any competing vegetation or aggressive weeds that might rob the soil of essential nutrients.
The actual planting hole should be excavated to 2 times the width of the root ball, but no deeper than the root ball itself. This promotes lateral root expansion into the surrounding Loam. Before the tree is placed, we recommend a soil test to confirm a pH between 6.0 and 7.0, which is the ideal range for nutrient uptake in these species. If the native soil is too sandy or too heavy with clay, it should be amended with organic compost to approximate a traditional loamy texture.
Edging provides the clean lines necessary for high-end curb appeal. Steel or stone edging prevents lawn grass from encroaching on the tree’s root zone. After the tree is set and the hole backfilled, a layer of 3 inches of organic Mulch is applied. It is vital to leave a gap of 2 inches between the mulch and the tree trunk to prevent fungal rot. Finally, the installation of a dedicated drip irrigation line ensures consistent moisture during the first two years of establishment, which is the most critical period for any new landscape feature.
Common Landscaping Failures
The most frequent mistake in high-end garden planning is failing to address soil compaction. During construction, heavy machinery often compresses the earth, destroying the pore spaces that hold oxygen. In such environments, even the best Loam will fail to support a Medlar because the roots cannot penetrate the hardened “hardpan” layer. Deep aeration or mechanical tilling is required to rectify this before planting.
Root overcrowding is another common failure, often caused by planting large specimens too close to Retaining Walls or Foundations. As the Medlar matures, its root system can exert significant pressure on masonry, leading to structural cracks. Proper spacing dictates that a tree should be planted at a distance at least equal to half of its expected mature canopy width from any permanent structure.
Inconsistent drainage often leads to “wet feet,” a condition where the roots effectively drown. While Medlars are hardy, they cannot tolerate standing water for extended periods. If the site has a naturally high water table, the use of French Drains or subterranean perforated pipes is necessary to move excess water away from the root zone. Finally, many amateurs over-prune the tree in its youth, which stunts its growth and ruins the natural, picturesque form that makes it a valuable focal point in the first place.
Seasonal Maintenance
Managing a professional landscape is a year-round commitment that changes with the weather. In the Spring, the focus is on nutrition and protection. Applying a balanced organic fertilizer around the drip line provides the burst of energy needed for flowering. This is also the time to inspect the irrigation system for leaks or clogged emitters before the summer heat arrives.
During the Summer, moisture management is the primary goal. While the Medlar is somewhat drought-tolerant once established, younger trees need deep watering at least once a week during heatwaves. Monitoring for pests like aphids or leaf-munching caterpillars is also necessary, though Medlars are generally more resilient than other fruit trees.
The Autumn brings the harvest of the fruit, but it also signals the time for garden hygiene. Fallen leaves should be cleared to prevent the buildup of pathogens, and a fresh layer of Mulch can be applied to insulate the roots against the coming frost. This is also the ideal time to plan for any new hardscaping additions, as the ground is still workable.
Winter is the season for structural maintenance. Since the tree is dormant, this is the only time to perform major Pruning. Focus on removing the “three Ds”: dead, damaged, or diseased wood. Thinning out crossing branches improves air circulation throughout the canopy, which reduces the risk of fungal infections in the following spring.
Professional Landscaping FAQ
What is the ideal pH for medlar soil?
The best soil for medlars has a pH between 6.0 and 7.0. This slightly acidic to neutral range ensures that micronutrients remain soluble and available for the tree to absorb, promoting healthy foliage and better fruit development.
Can I grow a medlar in heavy clay soil?
While possible, it is not ideal. Heavy clay should be amended with significant amounts of organic matter and coarse sand to create a loamy texture. Alternatively, planting the tree in a raised mound or bed helps improve vital drainage.
How deep should I apply mulch around the tree?
A professional standard is the application of 3 inches of organic wood chips or bark. This depth is sufficient to retain moisture and suppress weeds without suffocating the soil or causing heat buildup around the shallow root systems.
How far should a medlar be from a walkway?
To avoid future issues with root heave or overhanging branches, plant the tree at least 8 to 10 feet away from a primary walkway. This allows the canopy to spread naturally while maintaining clear passage for pedestrians.
Why is loam considered the best soil choice?
Loam provides the perfect balance of water retention and aeration. It holds enough moisture to sustain the tree during dry spells but drains quickly enough to prevent root rot, which is essential for the slow-growing Medlar.